
Ecosystem Integrations
WP SmartPay Pro connects automatically to six ecosystem tools when a payment event fires — affiliate tracking, spreadsheet logging, user account creation, helpdesk ticketing, community enrolment, and sales funnels. No custom code required.
AffiliateWP
Tracks affiliate referrals for every SmartPay payment. When a visitor arrives through an affiliate link and completes a payment, SmartPay records the referral in AffiliateWP and marks it as unpaid so it enters the commission payout queue automatically.
Requirements
AffiliateWP (premium) must be installed and active. A license is required — get one at affiliatewp.com/pricing.
Setup
Go to SmartPay → Extensions and toggle AffiliateWP on.
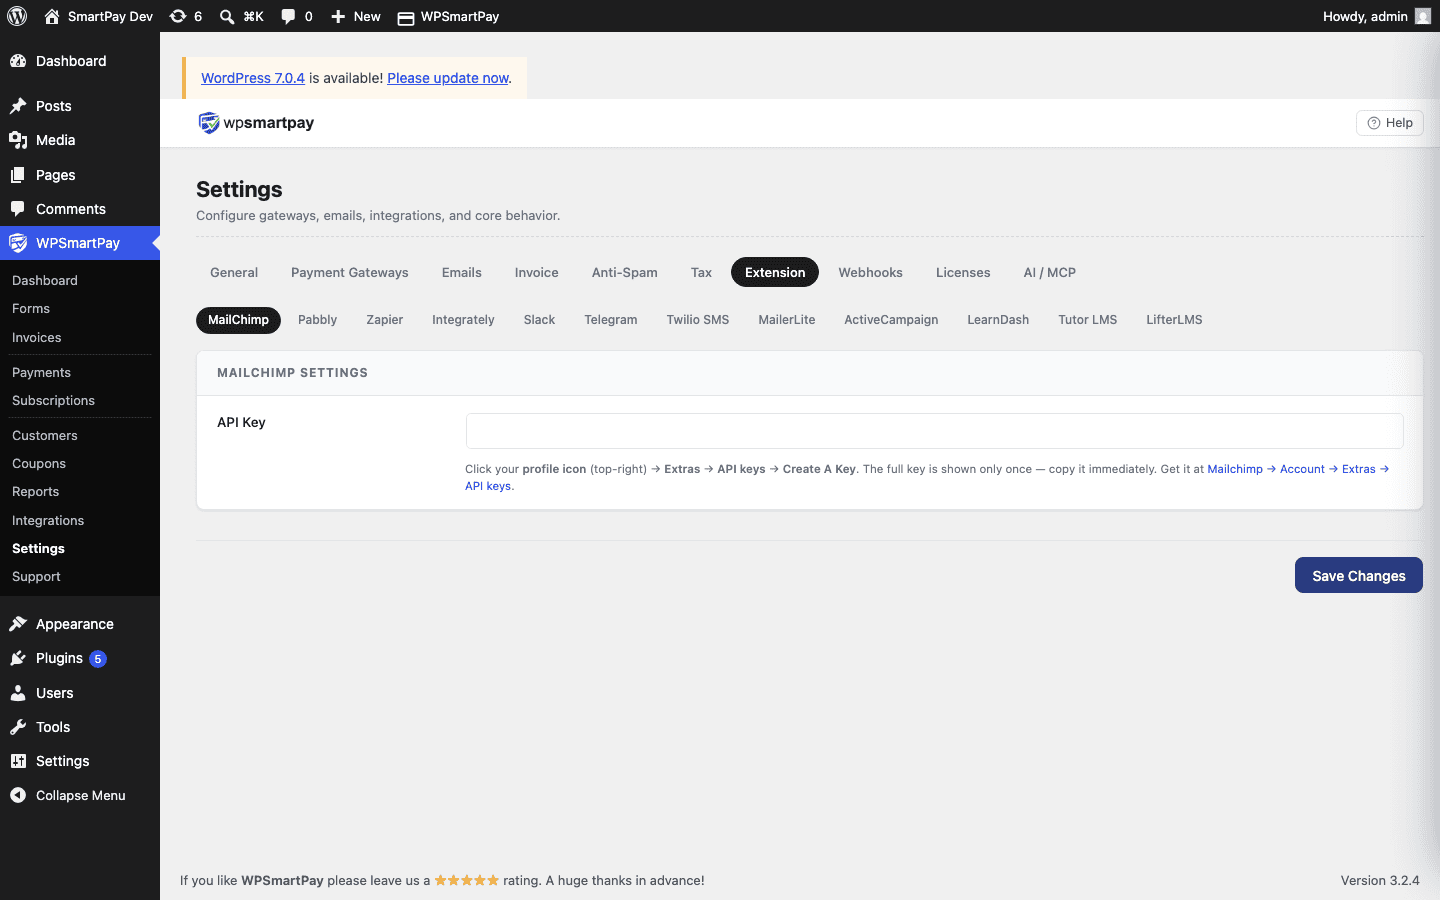
Click the gear icon to open Settings → Extensions → AffiliateWP.
Tick Enable referrals on all forms and products to track every payment sitewide — or leave it off to use the per-form toggle in the form editor sidebar.
Click Save Changes.
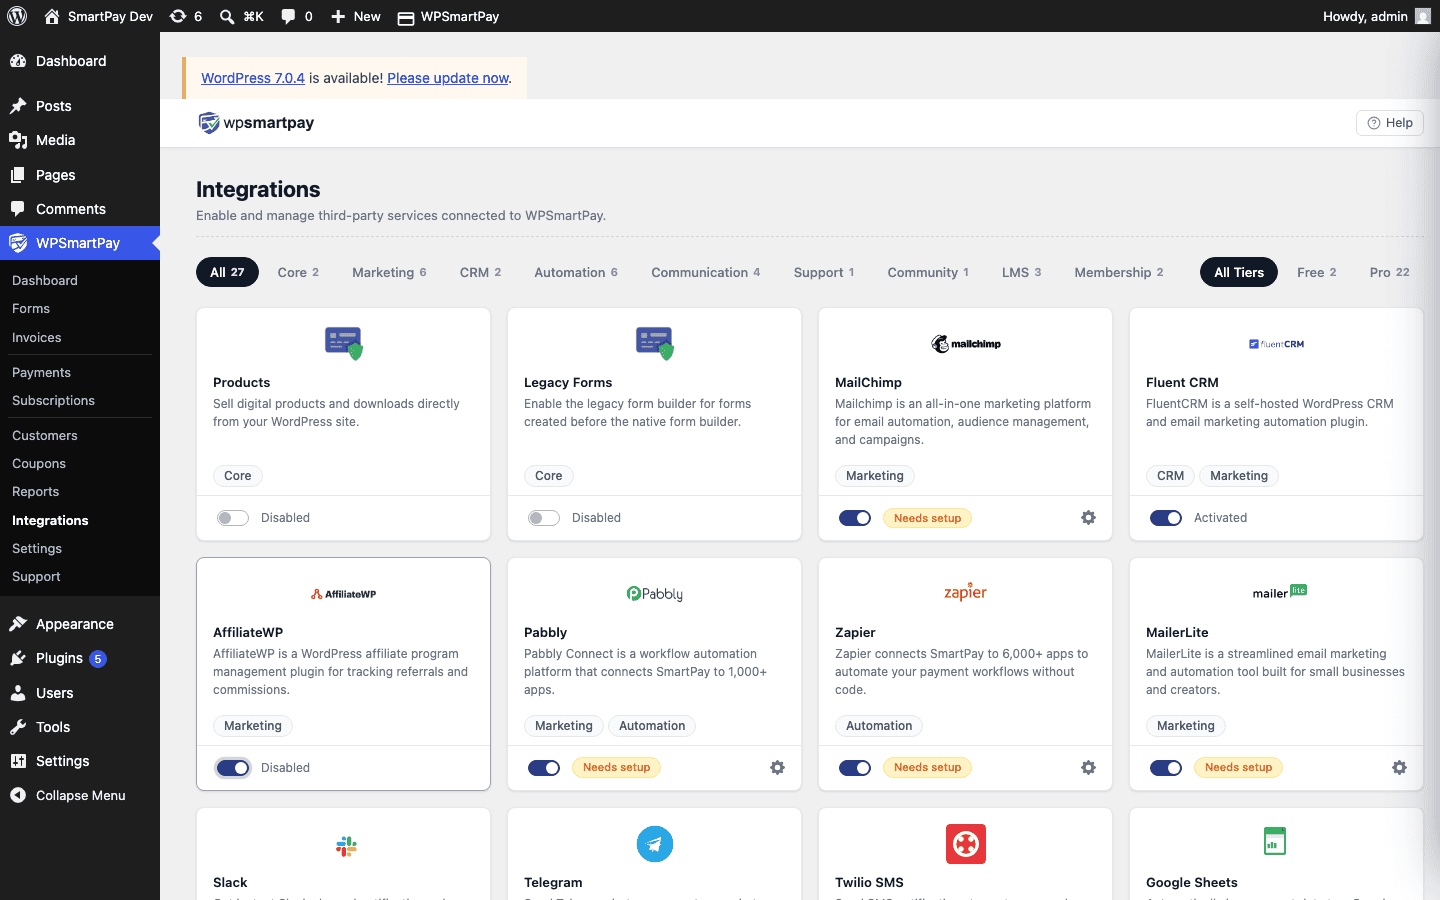
Per-form tracking: When global tracking is off, open any form in the form editor, go to the AffiliateWP panel in the sidebar, and enable tracking for that form individually.
Google Sheets
Appends a new row to a Google Sheet each time a payment event fires — no OAuth or Google account link required. SmartPay posts to a Google Apps Script web app URL that you deploy from your own Google account, giving you full control over which columns to write.
Getting the Apps Script URL
Open your Google Sheet, then go to Extensions → Apps Script. This opens the Google Apps Script editor.
Replace the default code with the template below, replacing
YOUR_SHEET_IDwith your sheet's ID (the long string between/d/and/editin the URL).Click Deploy → New deployment → Web app. Set Execute as: Me and Who has access: Anyone, then click Deploy.
Copy the Web app URL from the confirmation dialog.
function doPost(e) {
  var data  = JSON.parse(e.postData.contents);
  var sheet = SpreadsheetApp.openById('YOUR_SHEET_ID').getActiveSheet();
  sheet.appendRow([
    new Date(),
    data.event,
    data.payment.id,
    data.payment.amount / 100,
    data.payment.currency,
    data.payment.customer.name,
    data.payment.customer.email,
    data.payment.form_title,
    data.payment.gateway
  ]);
  return ContentService.createTextOutput('OK');
}
Setup in SmartPay
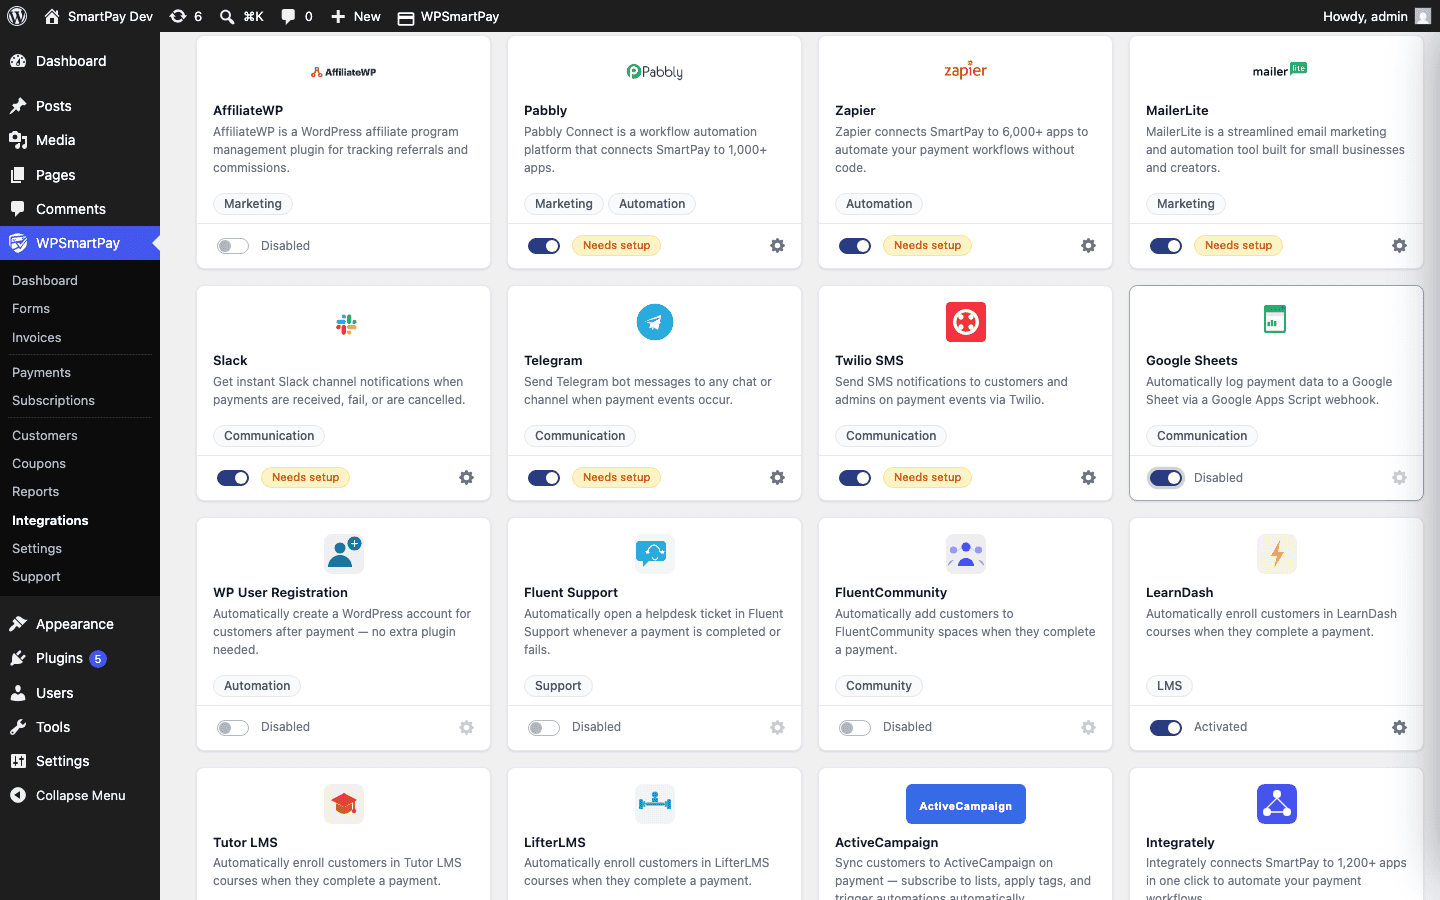
Go to SmartPay → Extensions and toggle Google Sheets on.
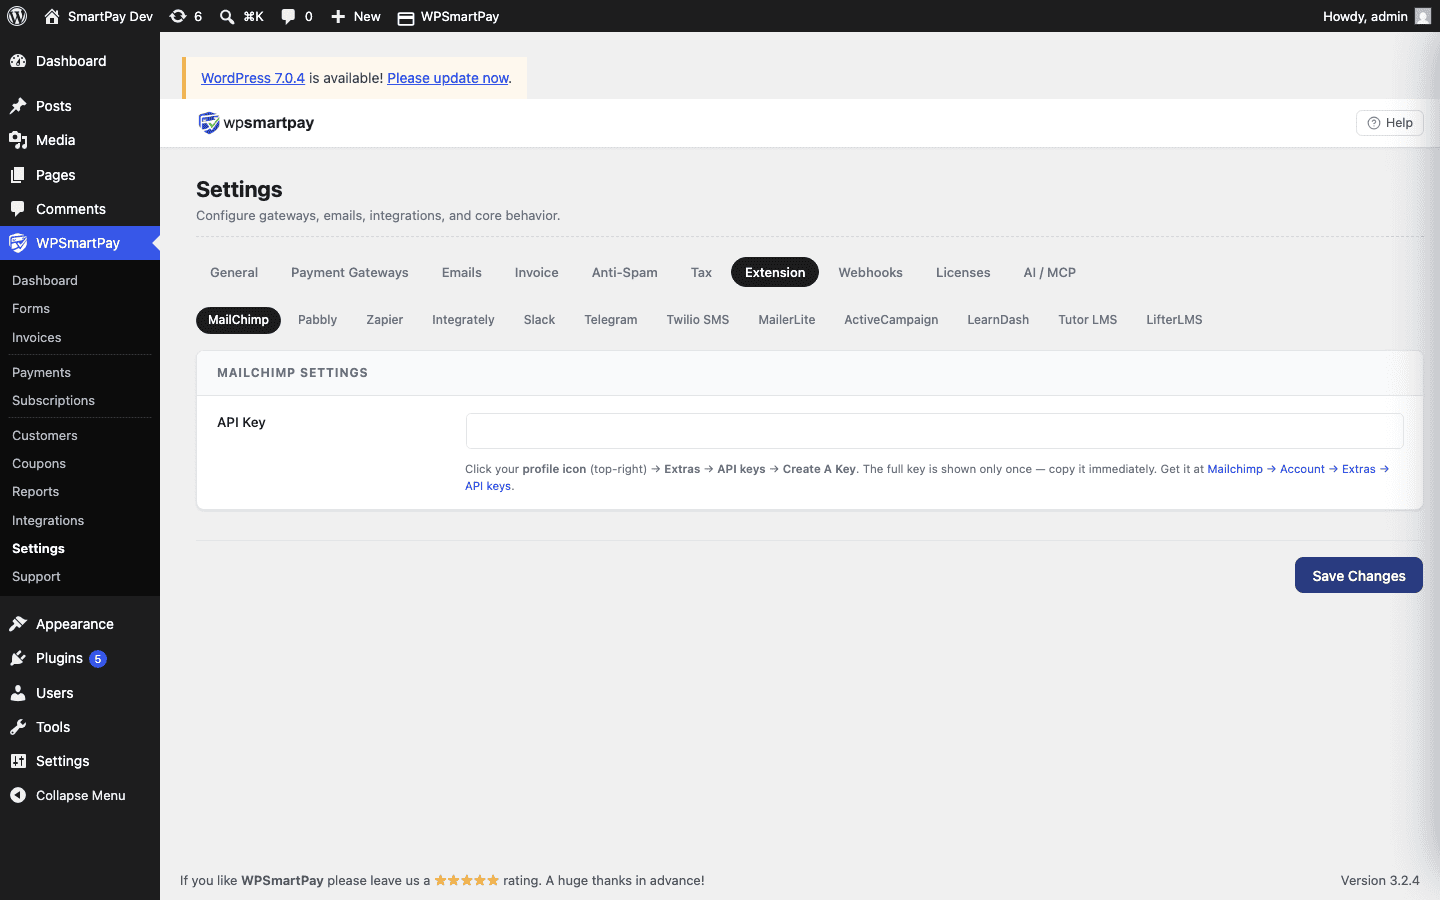
Click the gear icon to open Settings → Extensions → Google Sheets.
Paste the Apps Script web app URL into Apps Script Web App URL.
Select which payment events (Completed, Failed, Refunded) should trigger a row write.
Click Save Changes.
WP User Registration
Automatically creates a WordPress user account when a customer completes a payment. Ideal for membership or course sites where a WordPress account is required to access gated content.
Requirements
User Registration by WPEverest must be installed and active. The free version available on WordPress.org is sufficient.
Setup
Go to SmartPay → Extensions and toggle WP User Registration on.
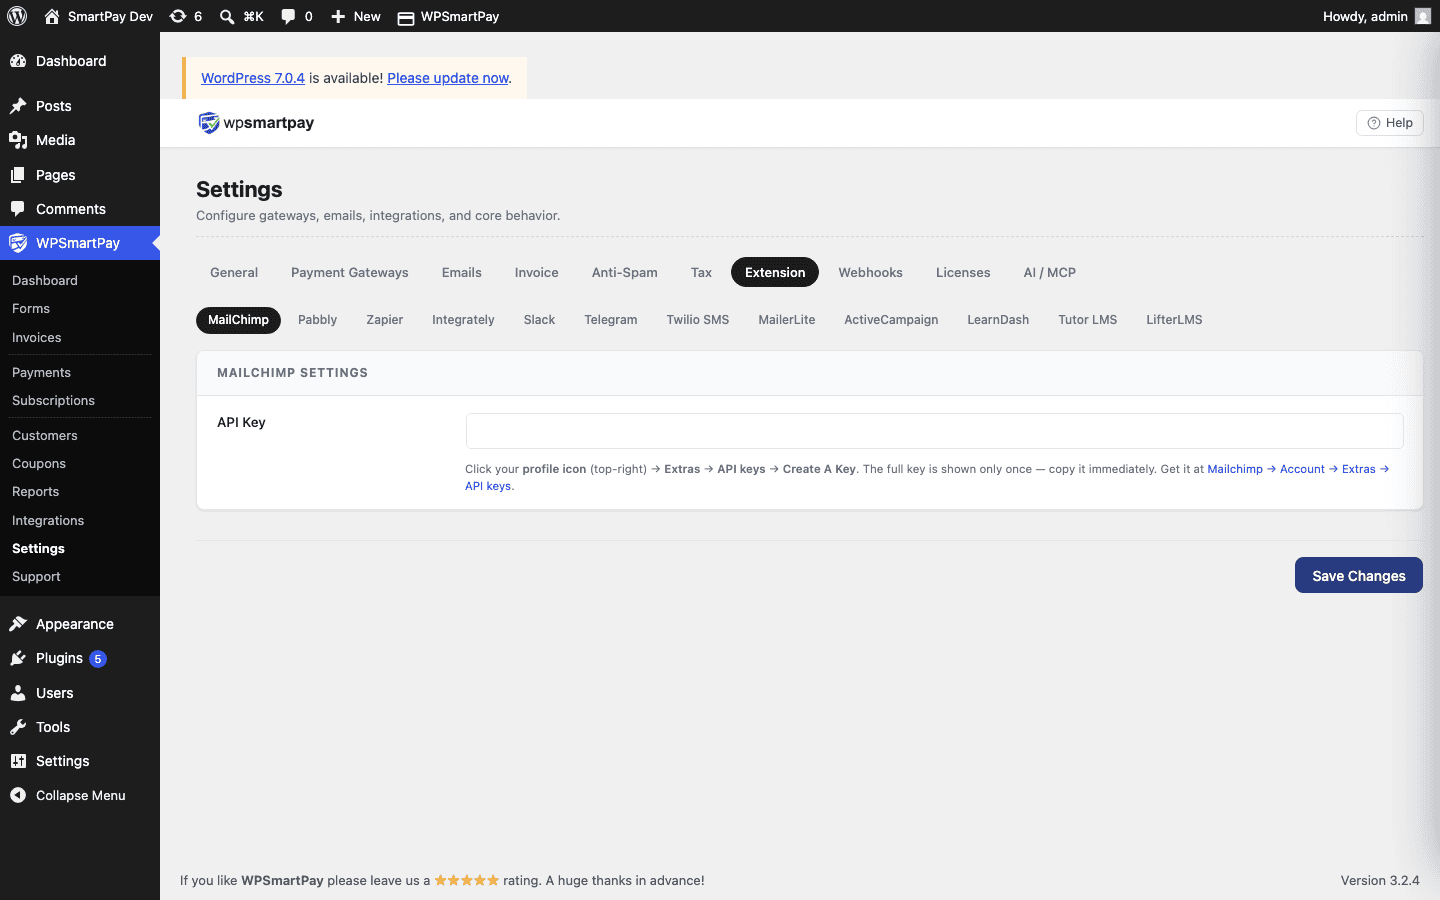
Click the gear icon to open Settings → Extensions → WP User Registration.
Choose the default User Role to assign on account creation (e.g. Subscriber).
Enable Send Welcome Email to notify new users with their login credentials.
Click Save Changes.
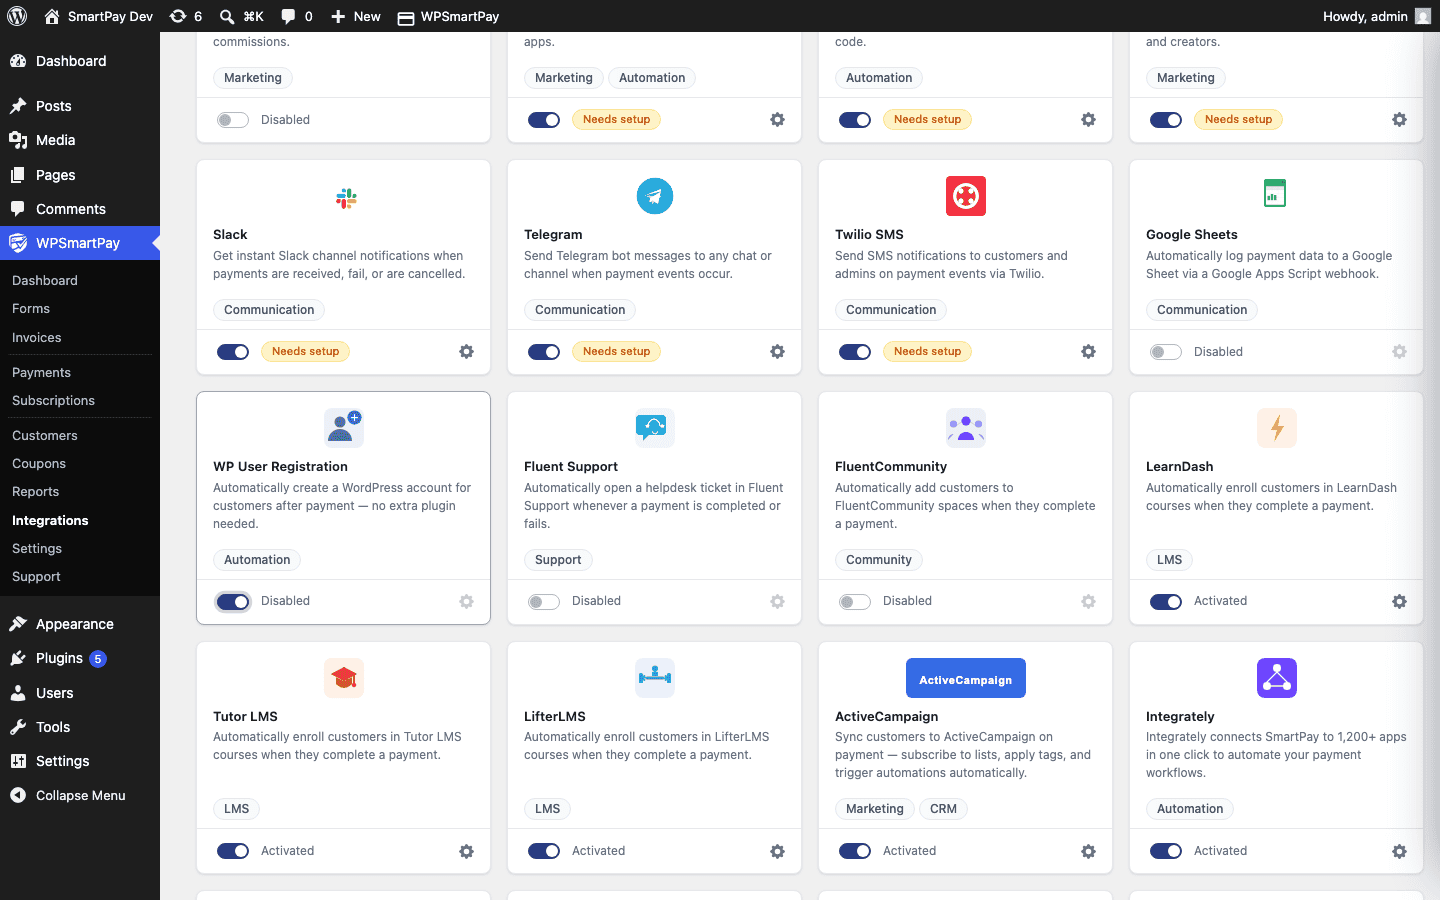
Per-form role override: Open any form in the form editor, go to the WP User Registration panel in the sidebar, and set a different role for purchases through that specific form.
Fluent Support
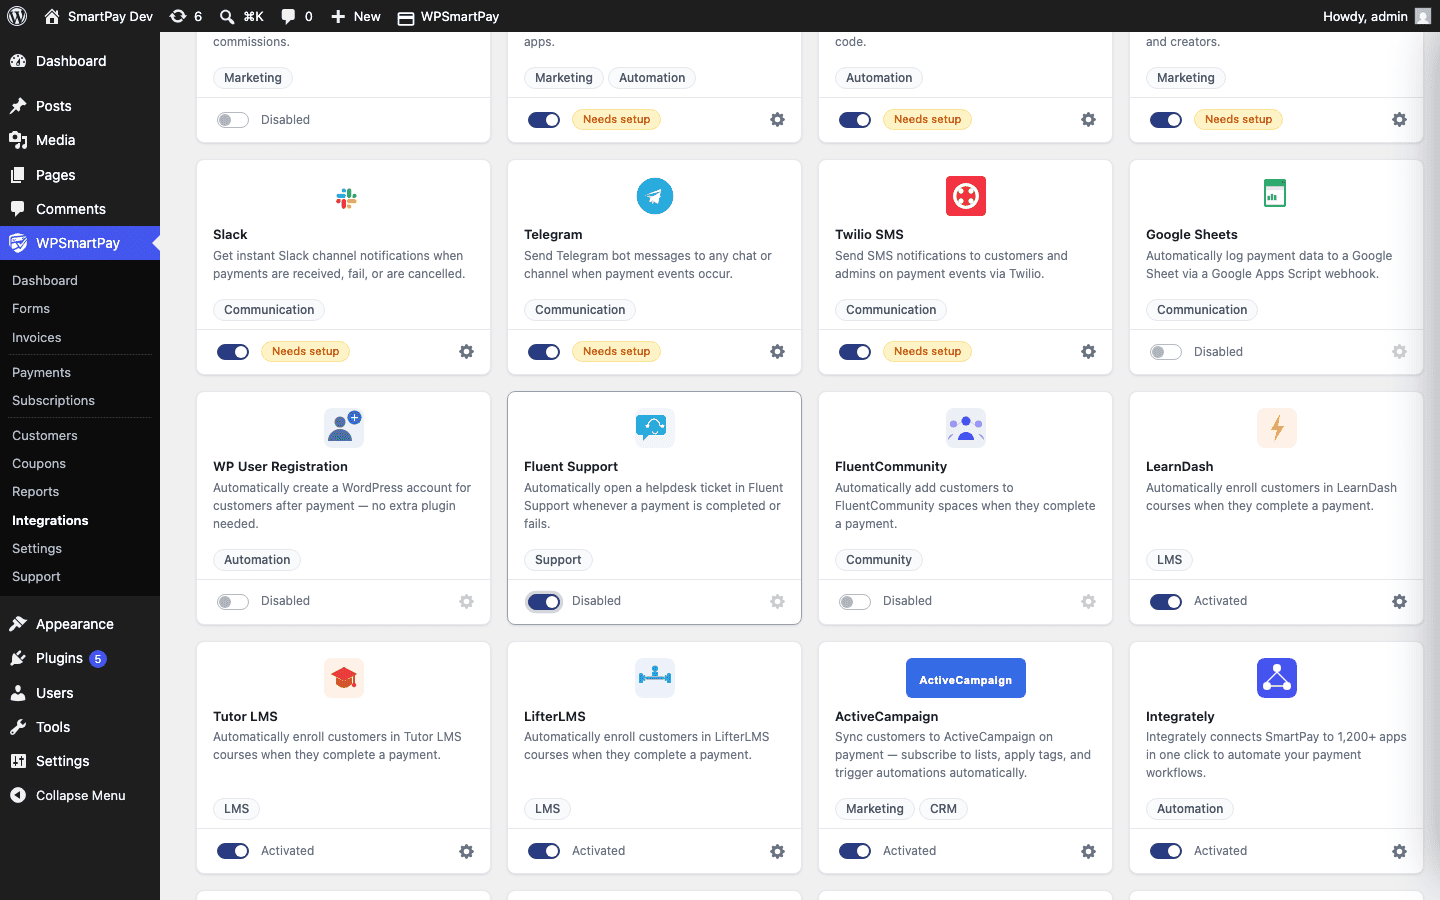
Automatically opens a helpdesk ticket in Fluent Support when a payment is completed or fails — so your support team always has a ticket ready without the customer having to submit one manually.
Requirements
Fluent Support must be installed and active (free version on WordPress.org). Configure at least one mailbox in Fluent Support → Mailboxes before enabling this integration.
Setup
Go to SmartPay → Extensions and toggle Fluent Support on.
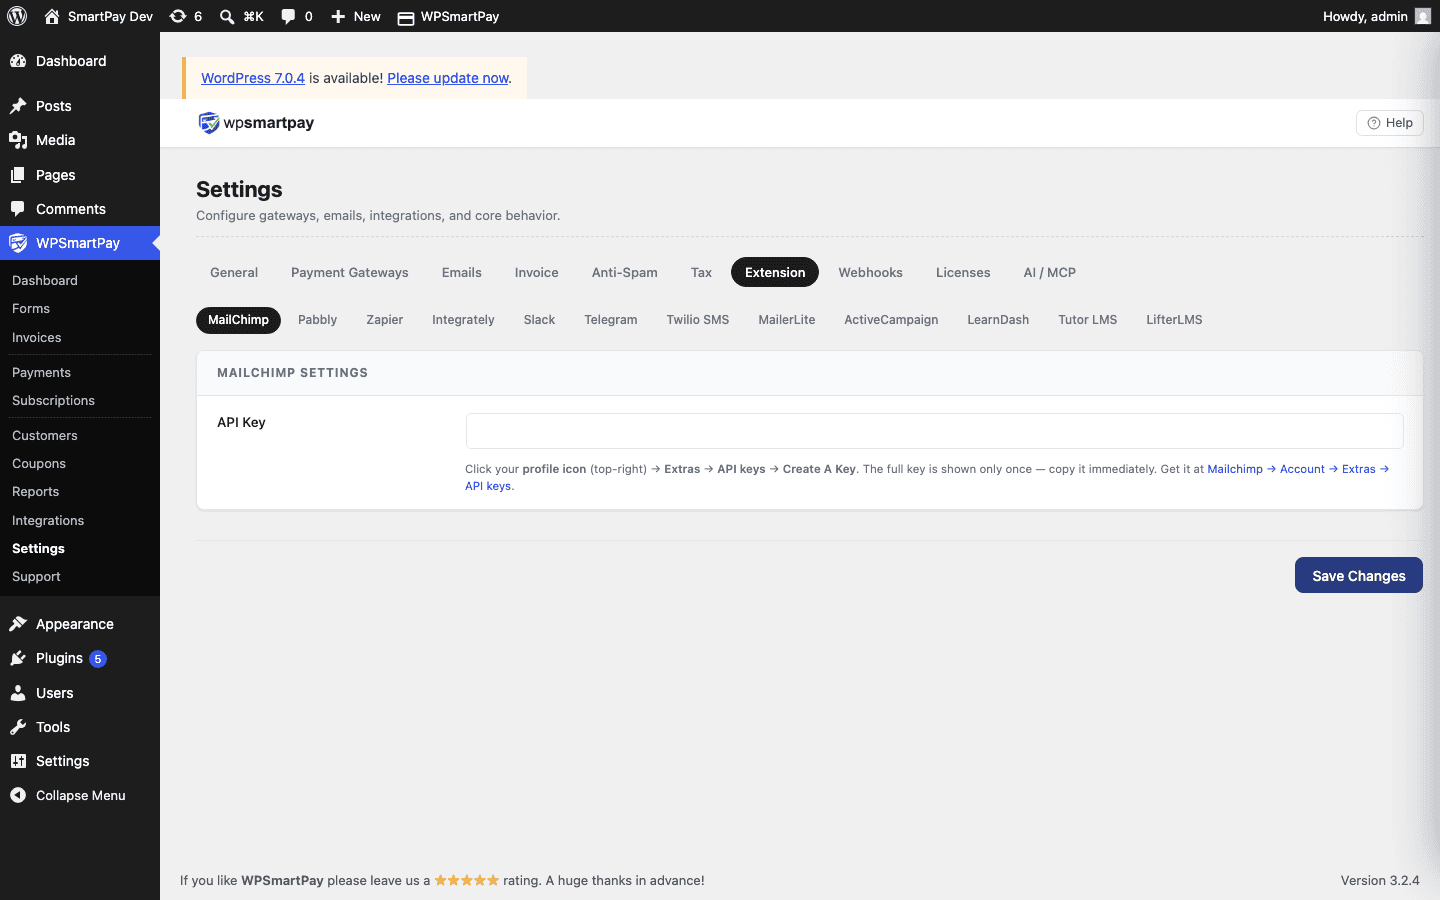
Click the gear icon to open Settings → Extensions → Fluent Support.
Choose the Mailbox that should receive tickets.
Set the Subject Template using placeholders:
{{payment_id}},{{customer_name}},{{amount}}.Write the Body Template for the ticket description.
Select which events (Payment Completed, Payment Failed) should create a ticket.
Click Save Changes.
FluentCommunity
Enrolls customers into FluentCommunity spaces on payment completion and optionally removes them on subscription cancellation. Ideal for paid community memberships where access is tied to an active subscription.
Requirements
FluentCommunity must be installed and active (free version on WordPress.org). Create at least one Space in FluentCommunity → Spaces before configuring this integration.
Setup
Go to SmartPay → Extensions and toggle FluentCommunity on.
Click the gear icon to open Settings → Extensions → FluentCommunity.
Select the default Space to enroll customers into on payment completion.
Enable Remove on Cancellation to unenroll customers when their subscription is cancelled.
Click Save Changes.
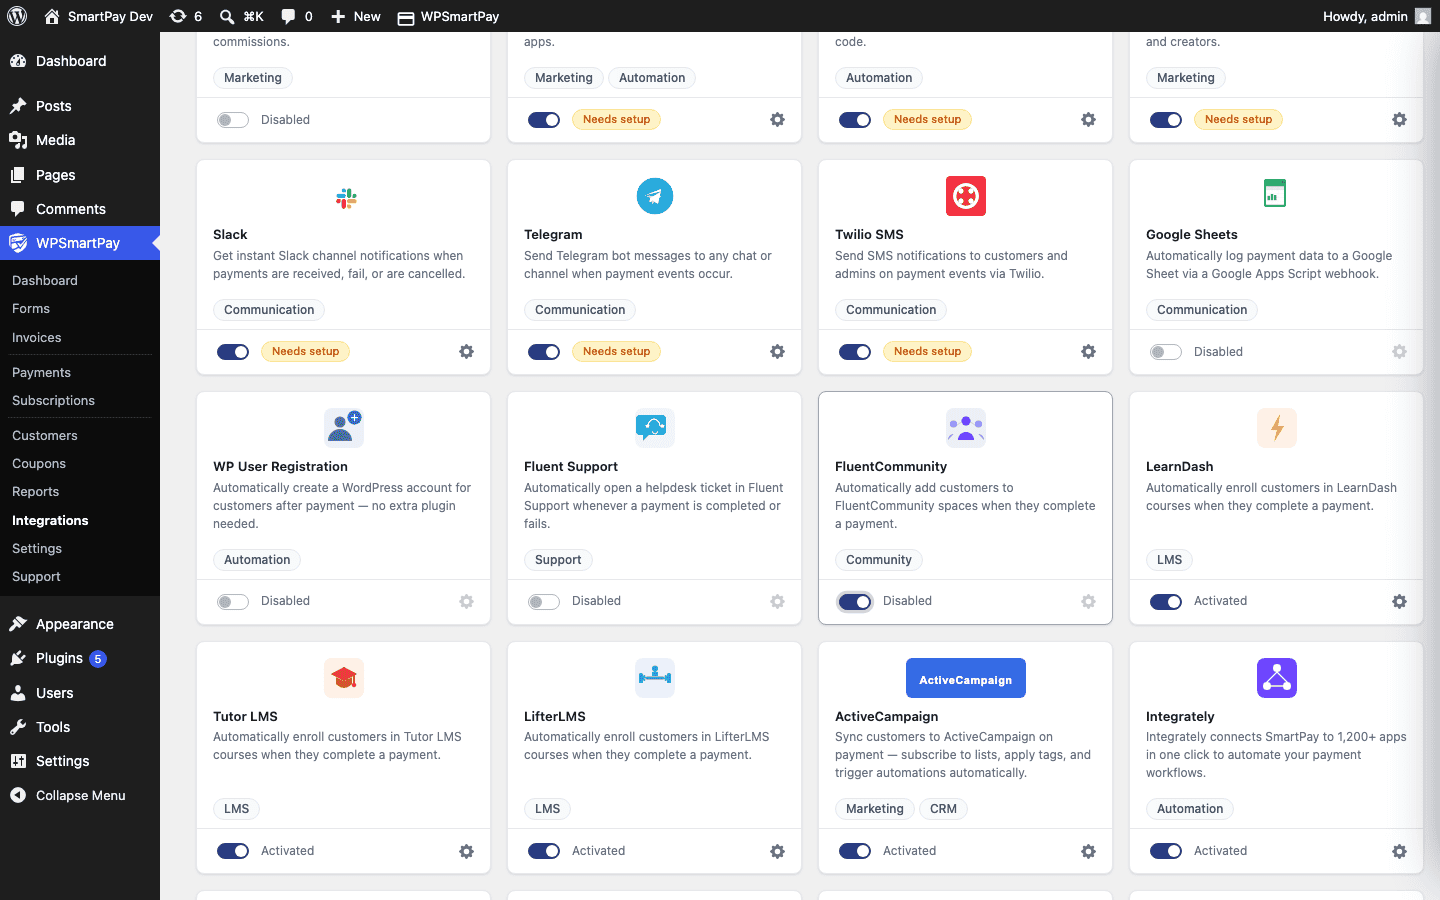
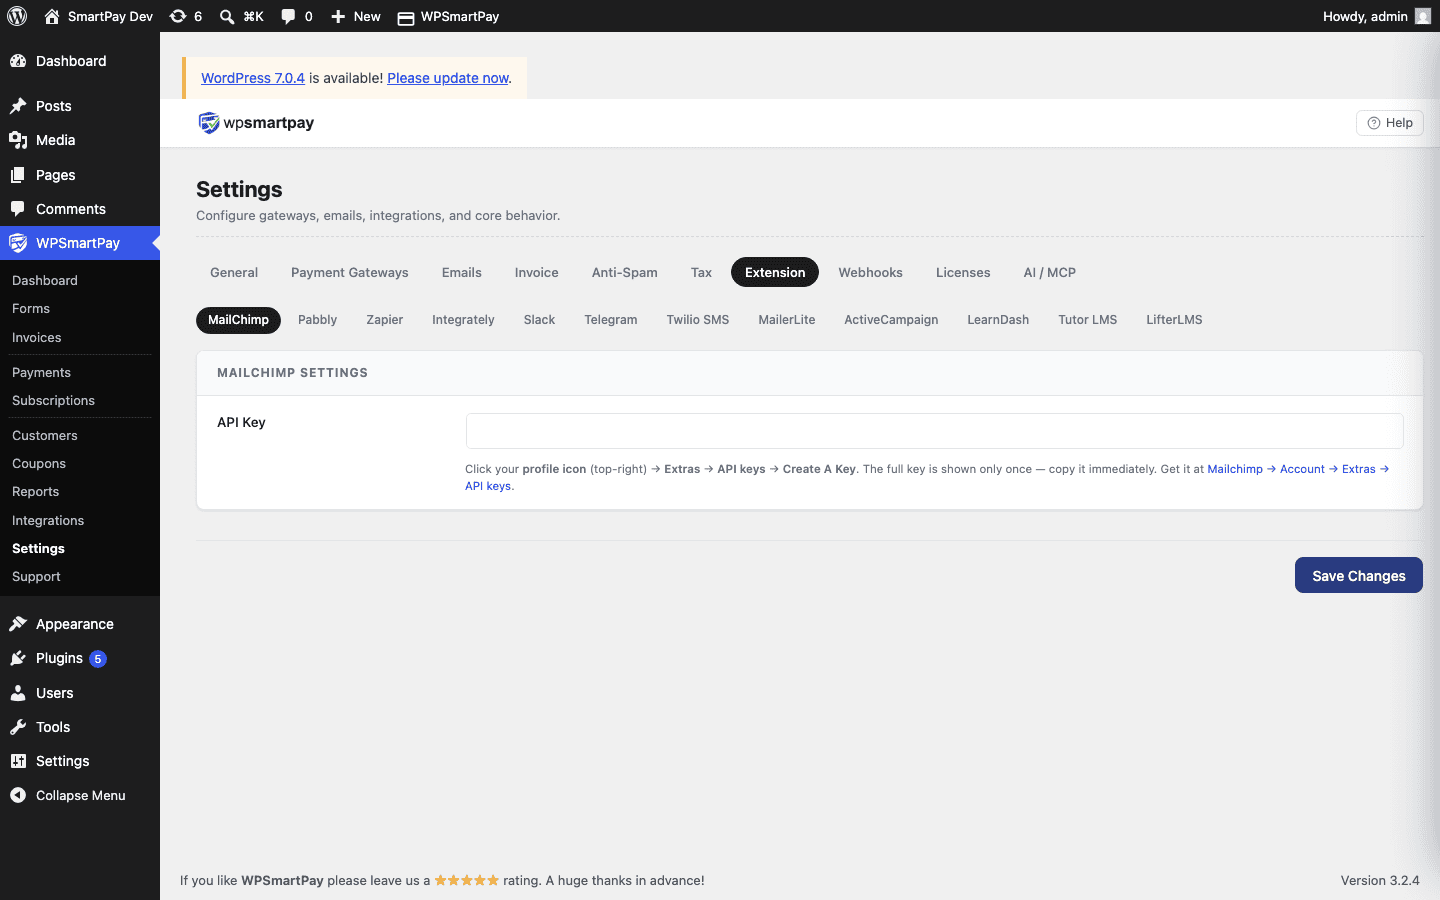
Per-form space override: Open any form in the form editor, go to the FluentCommunity panel in the sidebar, and select a different space for that specific form.
WPFunnels
Redirects customers to a WPFunnels funnel page or any custom URL after payment — useful for delivering upsells, onboarding sequences, or custom thank-you pages built in WPFunnels.
Requirements
WPFunnels must be installed and active (free version on WordPress.org). Build at least one funnel in WPFunnels → Funnels before configuring the redirect URL.
Setup
Go to SmartPay → Extensions and toggle WPFunnels on.
Click the gear icon to open Settings → Extensions → WPFunnels.
Enter the Default Funnel URL — customers who complete a payment will be redirected here unless a per-form override is set.
Click Save Changes.
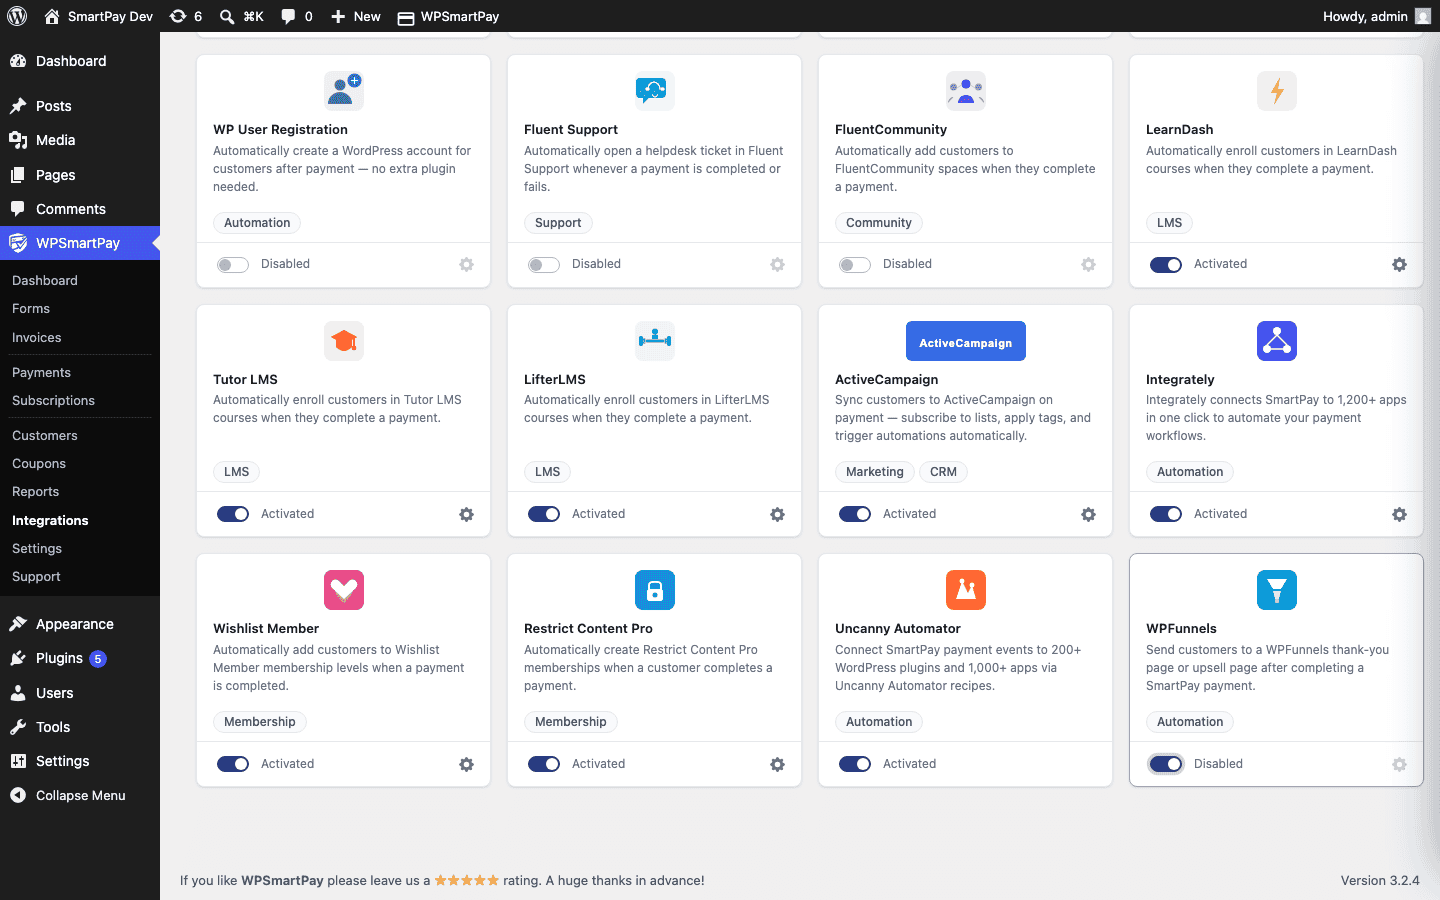
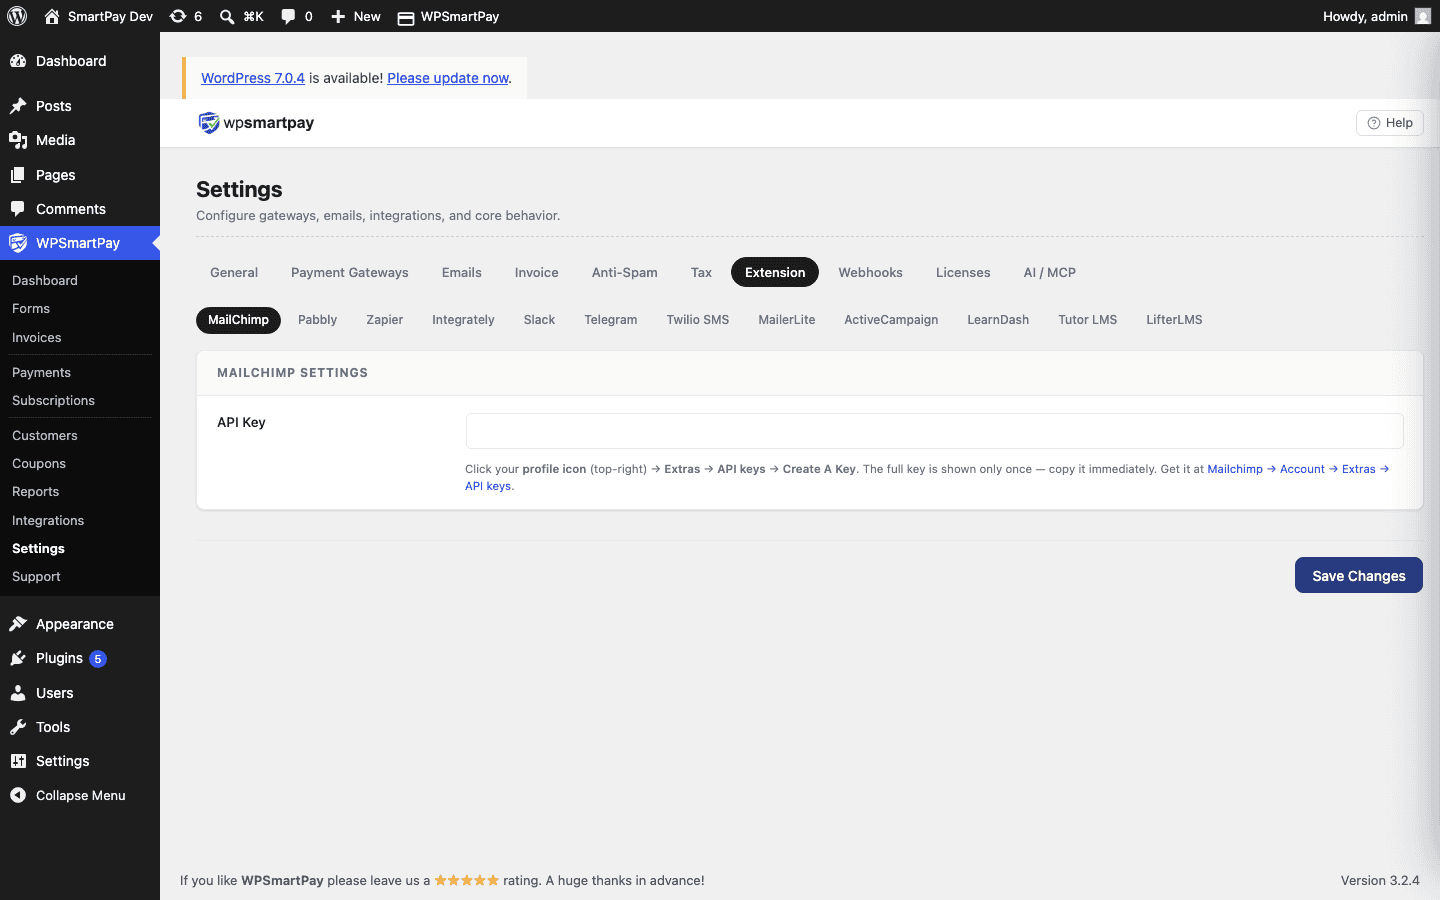
Per-form redirect: Open any form in the form editor, go to the WPFunnels panel in the sidebar, and enter the funnel URL for that specific form — this overrides the global default.