
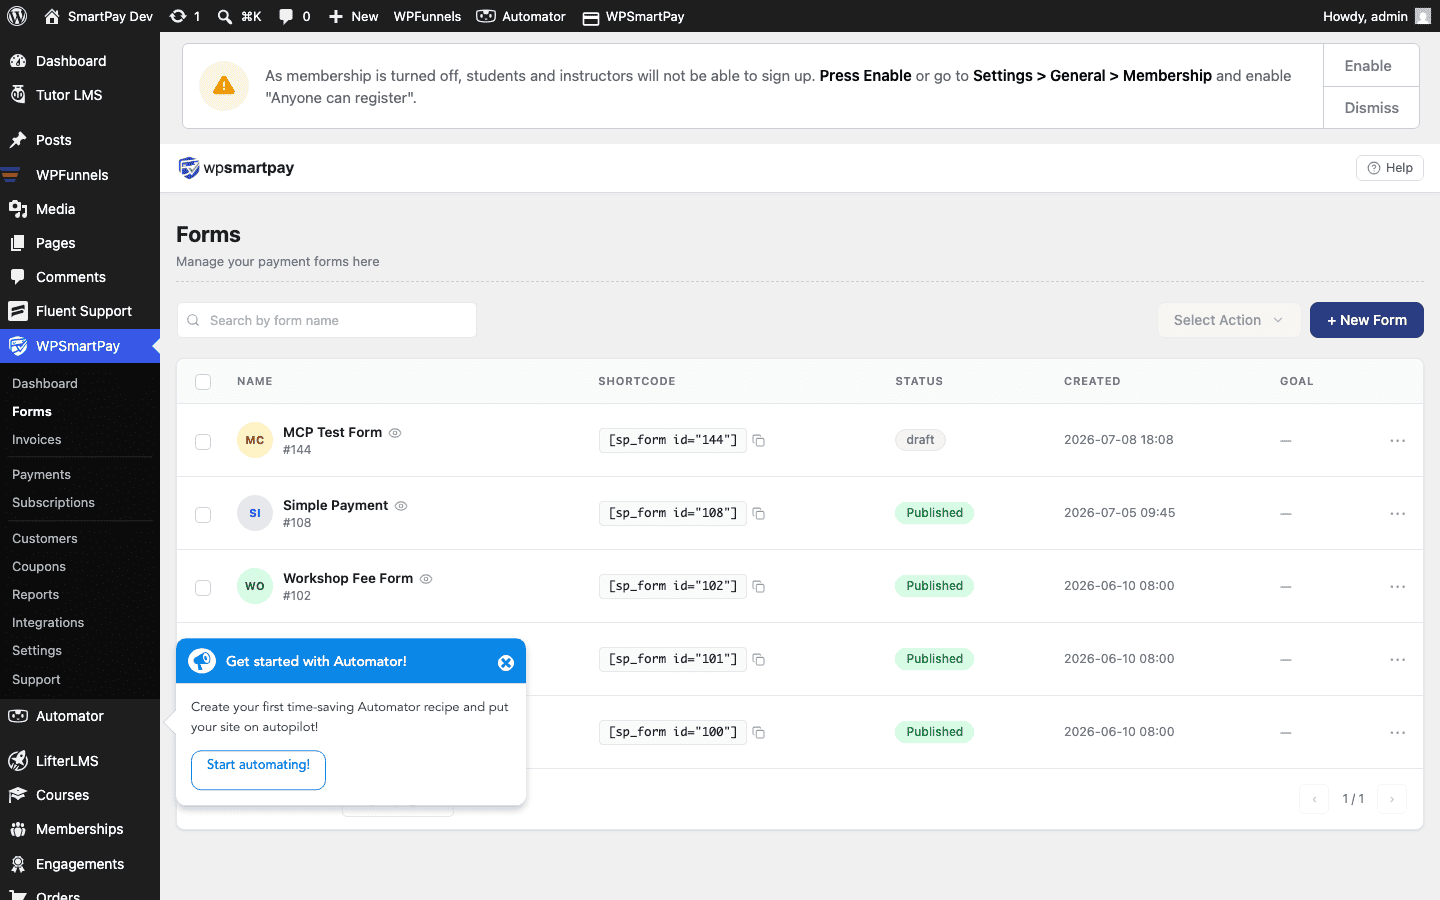
Many nonprofits and creators want to accept recurring donations from supporters — a fixed monthly contribution, a custom amount the donor chooses, or a combination of both. WP SmartPay makes this possible without any dedicated donation plugin: a payment form with flexible pricing and subscription billing handles it entirely.
Scenario
A nonprofit wants to offer supporters three giving levels ($10, $25, or $50/month) plus a "name your own amount" option. Donors should be charged automatically each month and receive a receipt. The organization's team should see donor totals in the Reports dashboard.
What You Need
- WP SmartPay (free) for the payment form
- WP SmartPay Pro for subscription billing and revenue reports
- A payment gateway that supports recurring billing (Stripe, Paddle, or Mollie)
Step 1: Create a Donation Form with Flexible Amounts
- Go to SmartPay → Forms → Add New.
- In the form editor, add a Payment Amount block.
- Set the pricing type to Set Prices and add three options: $10, $25, $50.
- Enable Custom Amount to let donors enter any value. Set a minimum of $1.
- Add a label like "Monthly Giving Amount" to the amount field.
Step 2: Enable Subscription Billing
- In the form editor sidebar, find the Subscription settings.
- Set the billing period to Monthly.
- Leave the subscription length as Ongoing so donors are charged until they cancel.
- Optionally add a Trial Period (e.g., first month free) if you want to encourage sign-ups.
Step 3: Set Up the Email Receipt
- Go to SmartPay → Settings → Email Notifications.
- Enable the Payment Received email — donors receive this after each successful charge.
- Customize the subject and body to say "Thank you for your monthly donation."
Step 4: Embed the Form on a Donation Page
- Copy the form's shortcode from the form editor (e.g.,
[smartpay_form id="123"]). - Create a WordPress page titled "Donate" and paste the shortcode.
- Publish the page and share the URL with supporters.
Step 5: Track Donations in Reports
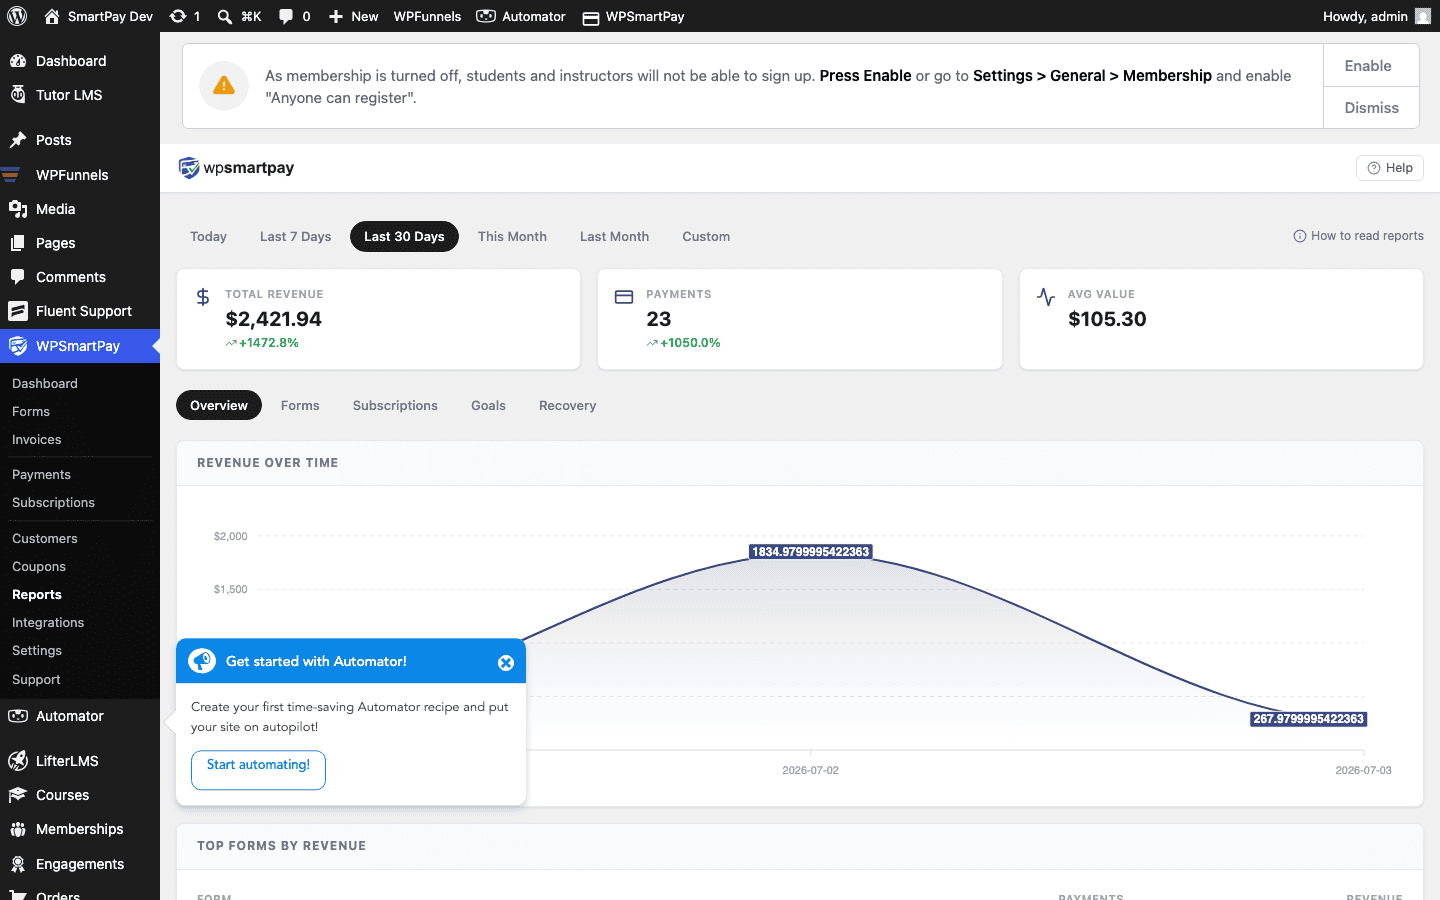
Once donations are flowing, go to SmartPay → Reports → Revenue to see monthly recurring revenue broken down by form. The Goals tab (Pro) lets you set a fundraising target and track progress with a visual progress bar.
Result
Supporters visit the donation page, choose their giving level (or enter a custom amount), pay via Stripe or PayPal, and are automatically charged every month. Failed payments trigger SmartPay's built-in recovery flow, which retries the charge and notifies the donor. The nonprofit's admin dashboard shows real-time revenue with no manual tracking needed.
Tips
- Add a coupon code (Pro) for one-time donor incentives without changing the subscription price permanently.
- Use Mailchimp or ActiveCampaign integration to add donors to a newsletter list automatically after their first payment.
- Set a Revenue Goal in the Reports tab to show a fundraising thermometer on your donation page (embed via shortcode).