
WP SmartPay Pro works with dedicated WordPress membership plugins — Restrict Content Pro and WishList Member — to gate any content on your site behind a SmartPay payment or subscription. Unlike LMS integrations, these membership plugins work with any content type: pages, posts, custom post types, and even entire menus.
Restrict Content Pro
Setup
- Install and activate Restrict Content Pro.
- In RCP, go to Restrict → Membership Levels → Add New and create your membership level (e.g., "Premium Member").
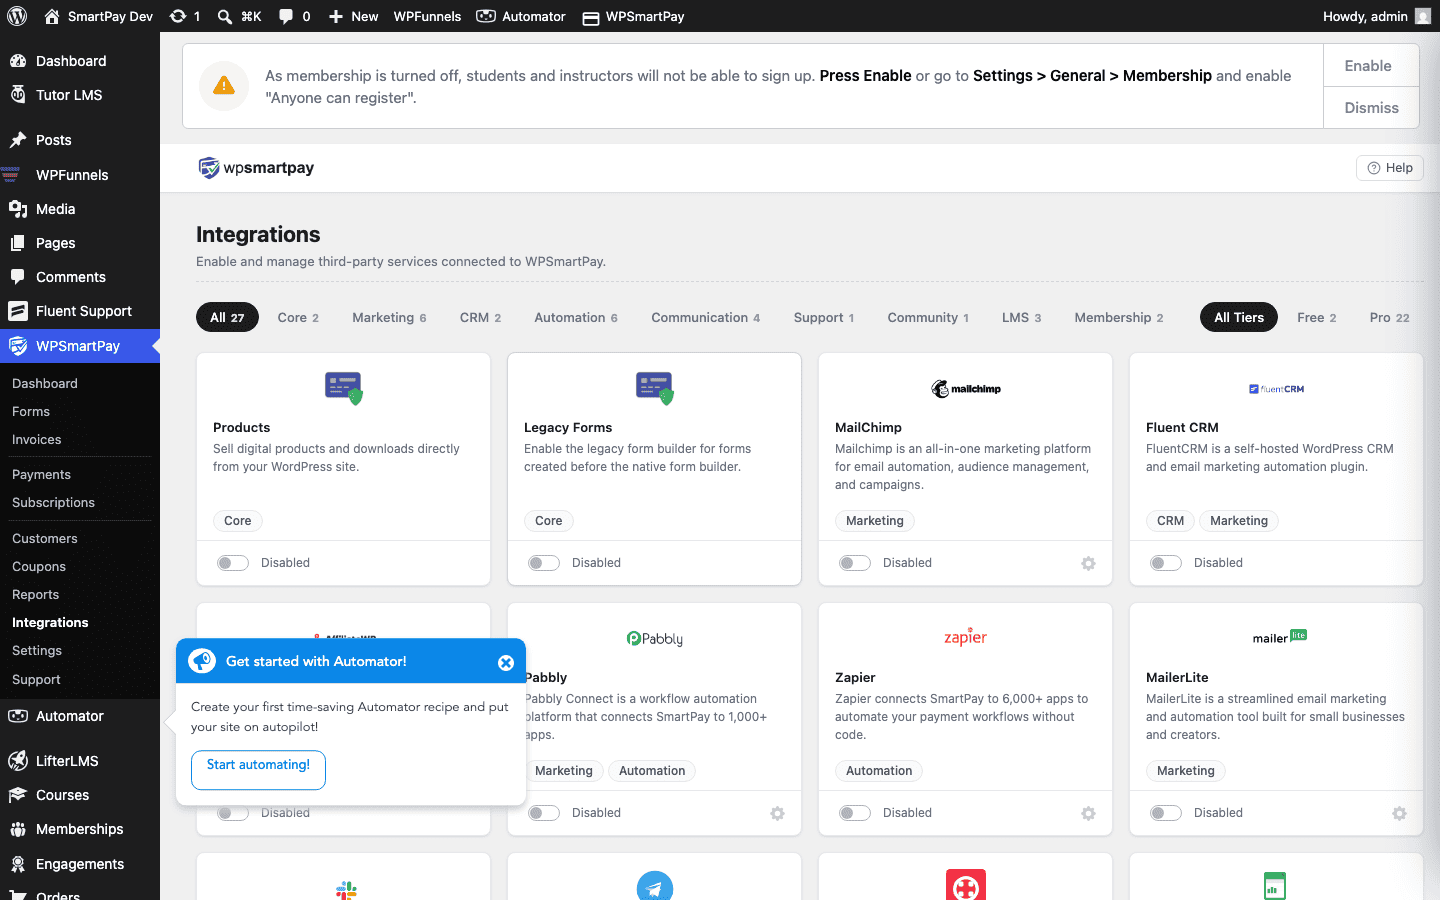
- In WordPress, go to SmartPay → Extensions → Restrict Content Pro → Settings and activate the integration.
- Open a SmartPay payment form, go to the Integrations tab, and select the RCP Membership Level to grant.
- Save the form.
How Content Restriction Works
- Create or edit a post/page.
- In the Restrict Content meta box (added by RCP), set the access level to "Premium Member".
- Non-members see a locked message with a link to your payment form.
- After payment, SmartPay grants the RCP membership level and the user sees the content immediately.
Subscription Lifecycle Mapping
| SmartPay event | RCP action |
|---|---|
| Subscription created | RCP membership activated |
| Subscription renewed | RCP expiry date extended |
| Subscription cancelled | RCP membership cancelled |
| Subscription failing (payment failed) | RCP membership suspended |
| Refund issued | RCP membership cancelled |
WishList Member
Setup
- Install and activate WishList Member.
- In WishList Member, go to Setup → Levels and create a membership level (e.g., "Gold Member").
- In WordPress, go to SmartPay → Extensions → WishList Member → Settings and activate the integration.
- Open a SmartPay payment form, go to the Integrations tab, and select the WishList Member Level to grant.
- Save the form.
Restricting Content with WishList Member
- Edit any post or page.
- In the WishList Member meta box, enable restriction and select the levels with access.
- Non-members see a customizable "access denied" message.
Tips
- Combine LMS + Membership: You can activate both a LearnDash integration and a Restrict Content Pro integration on the same SmartPay form — the buyer gets enrolled in LearnDash courses AND gains RCP membership access with a single purchase.
- Grandfathering existing members: If you already have members on a different payment system, use your membership plugin's bulk-import or admin tools to set their membership level manually — SmartPay only fires hooks for new payments made through SmartPay forms.
- Access on first payment vs. all renewals: By default, membership access is granted on the first subscription payment and maintained as long as renewals succeed. You do not need to configure anything special for renewals — the subscription status drives access automatically.