
Event organizers often need to sell multiple ticket types — Early Bird, Standard, and VIP — each at a different price, with a single checkout experience. WP SmartPay's form pricing handles this with no third-party event plugin required.
Scenario
A conference organizer is selling tickets for an annual summit. They want three ticket tiers: Early Bird ($49), Standard ($99), and VIP ($199 with networking dinner). All tickets are one-time payments. Buyers receive a confirmation email with event details.
What You Need
- WP SmartPay (free) for the payment form
- A payment gateway (Stripe for instant processing)
- Optional: Zapier or Uncanny Automator to sync registrants to a spreadsheet or CRM
Step 1: Create the Registration Form with Tiered Pricing
- Go to SmartPay → Forms → Add New.
- In the Payment Amount block, set the pricing type to Set Prices.
- Add three price options:
- Early Bird — $49
- Standard — $99
- VIP (Includes Networking Dinner) — $199
- Add a Text Field block for "Company Name" (optional).
- Set the success redirect to a "Registration Confirmed" page with event logistics (venue, schedule, etc.).
Step 2: Customize the Confirmation Email
- Go to SmartPay → Settings → Emails.
- Edit the Payment Received template.
- Include the ticket type (via the
{payment_title}tag), date, venue address, and any access instructions. - For VIP buyers, you may want to note the dinner details separately — this can be done via a Zapier workflow that detects the $199 payment amount and sends a second email.
Step 3: Export the Attendee List
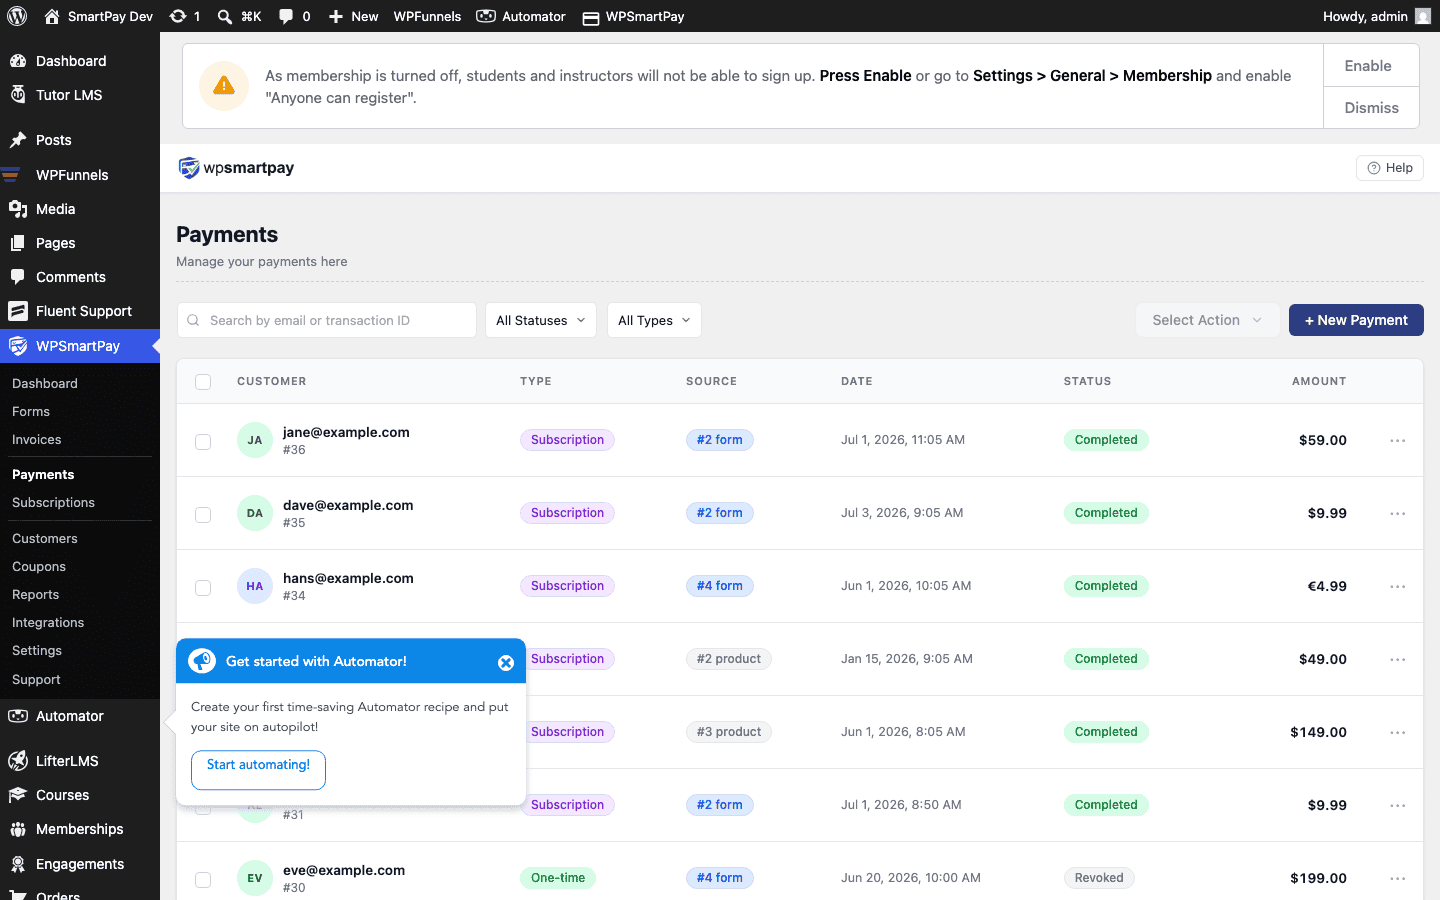
After registrations come in, go to SmartPay → Customers to see all registrants. For a spreadsheet export, connect SmartPay to Google Sheets via Zapier: each new payment triggers a Zap that appends a row with name, email, and ticket type.
Handling Refund Requests
If an attendee can no longer attend:
- Go to SmartPay → Payments and find their payment.
- Open the payment detail and click Refund.
- Enter the refund amount (full or partial) and confirm.
- SmartPay processes the refund through the original gateway (Stripe refunds appear on the card within 5–10 business days).
Limiting Ticket Availability
WP SmartPay forms do not have a built-in attendee cap. To enforce ticket limits:
- Monitor registrations in SmartPay → Reports → Forms and manually disable the form when sold out.
- Or use Uncanny Automator to trigger a webhook that disables the form once a target payment count is reached.
Result
Registrants visit the event page, pick their ticket tier, pay in under 60 seconds, and immediately receive a confirmation email with event details. The organizer sees all registrants in SmartPay's customer and payments list with no separate event management tool required.
Tips
- Use a coupon code for speaker discounts or partner promo codes — create a unique coupon per partner to track referral conversions.
- Duplicate the form for a future event year rather than editing the live one — this preserves the payment history accurately.
- Use the Invoices feature (Pro) if corporate sponsors need formal invoices for their accounting teams.