
The General Settings page in WP SmartPay controls site-wide defaults — your business identity, currency, page assignments, and date formatting. These values appear on payment receipts, invoices, and customer emails.
Opening General Settings
Go to SmartPay → Settings → General.
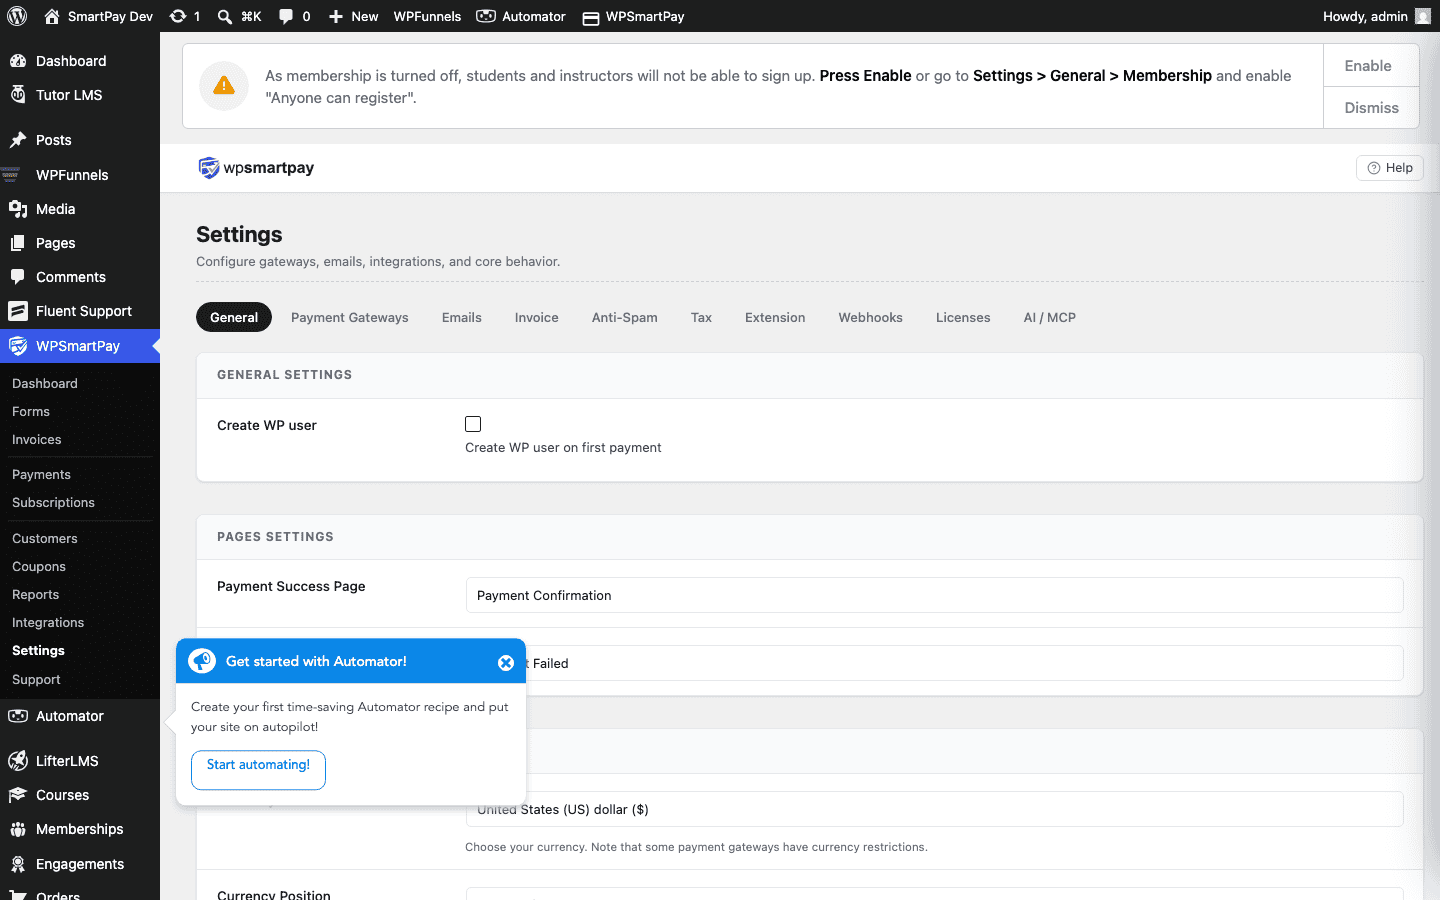
Business Information
- Business Name — Your company or creator name. Appears on invoices (Pro) and email headers.
- Business Logo — Upload your logo (PNG or SVG). Displayed on invoices and the payment receipt page.
- Support Email — The email address shown to customers for support inquiries. This is different from the "From" address on outgoing emails — that is set in Settings → Emails.
Currency
- Currency — Select your store currency from the dropdown. This applies to all payment forms and amount displays across the admin and frontend. Changing currency does not convert existing payment amounts — it changes the symbol only.
- Currency Position — Whether the currency symbol appears before (
$10) or after the number (10$). - Thousands Separator — Character used to separate thousands (comma or period).
- Decimal Separator — Character used for the decimal point.
Page Settings
SmartPay uses several WordPress pages for frontend functionality. Assign the correct page to each here:
- Payment Success Page — Where customers are redirected after a successful payment. This page should contain the
[smartpay_payment_receipt]shortcode. - Payment Failure Page — Where customers land if their payment fails. Optional.
- Login Page — The page with the
[smartpay_user_login]shortcode. Used by the "Require Login" form feature. - Registration Page — The page with the
[smartpay_user_registration]shortcode. - Customer Dashboard — Where logged-in customers see their payment history. Should contain
[smartpay_dashboard].
Date Format
- Date Format — Controls how dates are displayed throughout SmartPay admin pages and on receipts. Accepts PHP date format strings (e.g.,
Y-m-dfor 2026-07-01,d/m/Yfor 01/07/2026).
Saving Settings
Click Save Settings at the bottom of the page to apply changes. Settings are saved immediately — no page reload is needed to see the effect in the admin.