
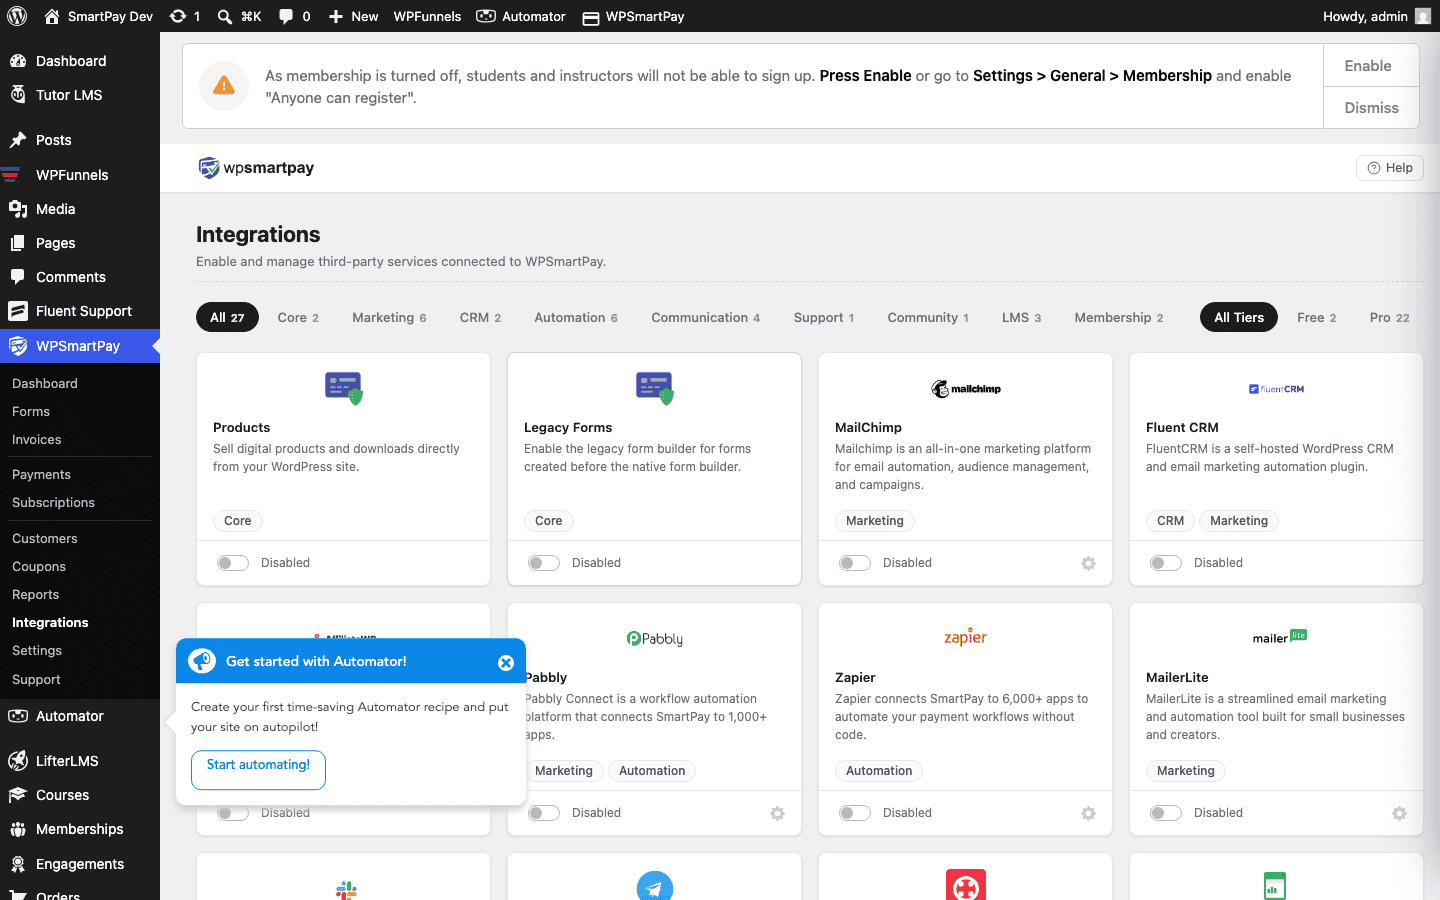
WP SmartPay Pro integrates with the leading email marketing platforms, automatically subscribing buyers to your lists and tagging them based on what they purchased — no manual exports or CSV uploads required.
Supported Platforms
- Mailchimp — audience-based lists with tags and merge fields
- MailerLite — groups and automation triggers
- ActiveCampaign — lists, tags, and automations
- FluentCRM — self-hosted CRM/email tool for WordPress
- ConvertKit — sequences and tags
Setting Up Mailchimp
- In Mailchimp, go to Account → Extras → API keys and create a new key.
- In WordPress, go to SmartPay → Extensions → Mailchimp → Settings.
- Paste your API key and click Connect. Your Mailchimp audiences will appear.
- Select the default audience for new buyers.
- Optionally map payment forms to specific audiences: each form can send buyers to a different Mailchimp audience.
Setting Up ActiveCampaign
- In ActiveCampaign, go to Settings → Developer → API Access. Copy your URL and API key.
- In WordPress, go to SmartPay → Extensions → ActiveCampaign → Settings.
- Enter your URL and key.
- Select the list and optionally add tags (e.g., "smartpay-buyer", "product-name").
- Optionally choose an automation to trigger when a new contact is added.
Setting Up FluentCRM
FluentCRM is already installed on your WordPress site, so no API key is needed:
- Go to SmartPay → Extensions → FluentCRM → Settings.
- Select the FluentCRM list and tag to apply when a payment is completed.
- Save. SmartPay will add the buyer as a FluentCRM contact and apply the tag.
What Happens at Purchase
When a payment is completed, SmartPay:
- Fires the
smartpay_payment_completedhook - The email marketing integration receives the hook
- The buyer's email, first name, and last name are sent to the platform API
- If the contact already exists, they are not duplicated — tags/lists are updated
- Any configured automation trigger fires in the email platform
Tagging by Product or Form
If your email platform supports tags (ActiveCampaign, FluentCRM, ConvertKit), you can configure SmartPay to apply a different tag per payment form. This lets you segment buyers by product:
- Form "UI Kit Purchase" → tag: product-ui-kit
- Form "Course Enrollment" → tag: product-course
- Form "Membership Signup" → tag: product-membership
Set this up in the form editor's Integrations tab after activating the email marketing extension.
Subscription Events
For subscription forms, SmartPay also sends contact updates when:
- Subscription cancelled: A cancellation tag can be applied (e.g., subscription-cancelled) to trigger a win-back email sequence
- Renewal paid: A renewal tag updates the contact's last activity date
- Trial started: A trial tag can enroll the contact in a trial nurture sequence
Troubleshooting
- Contacts not appearing: Confirm the integration is activated and the API key is valid. Test by making a purchase in Test Mode and checking if the contact appears.
- Wrong audience: Check the form-level integration mapping — a form's integration setting overrides the global default.
- Double opt-in blocking adds: Disable double opt-in in Mailchimp (or the relevant platform) if contacts need to be added without confirmation email.