
Paytm is one of India's largest digital payment platforms, with over 350 million users. WP SmartPay Pro integrates Paytm's Payment Gateway, allowing Indian businesses to accept UPI, wallet, card, and net banking payments through Paytm's checkout.
Prerequisites
- A Paytm for Business account. KYC verification is required for live payments.
- Your Paytm Merchant ID (MID) and Merchant Key from the Paytm Dashboard.
- WP SmartPay Pro with a valid license.
- HTTPS on your site.
Country Availability
Paytm is available to businesses registered in India. International payments are available on select card types if enabled on your Paytm account.
Finding Your Paytm Credentials
- Log in to your Paytm Dashboard.
- Go to Developer → API Details.
- Copy your Merchant ID (MID) and Merchant Key.
- For sandbox: use the test credentials provided in Paytm's developer documentation.
Connecting Paytm in SmartPay
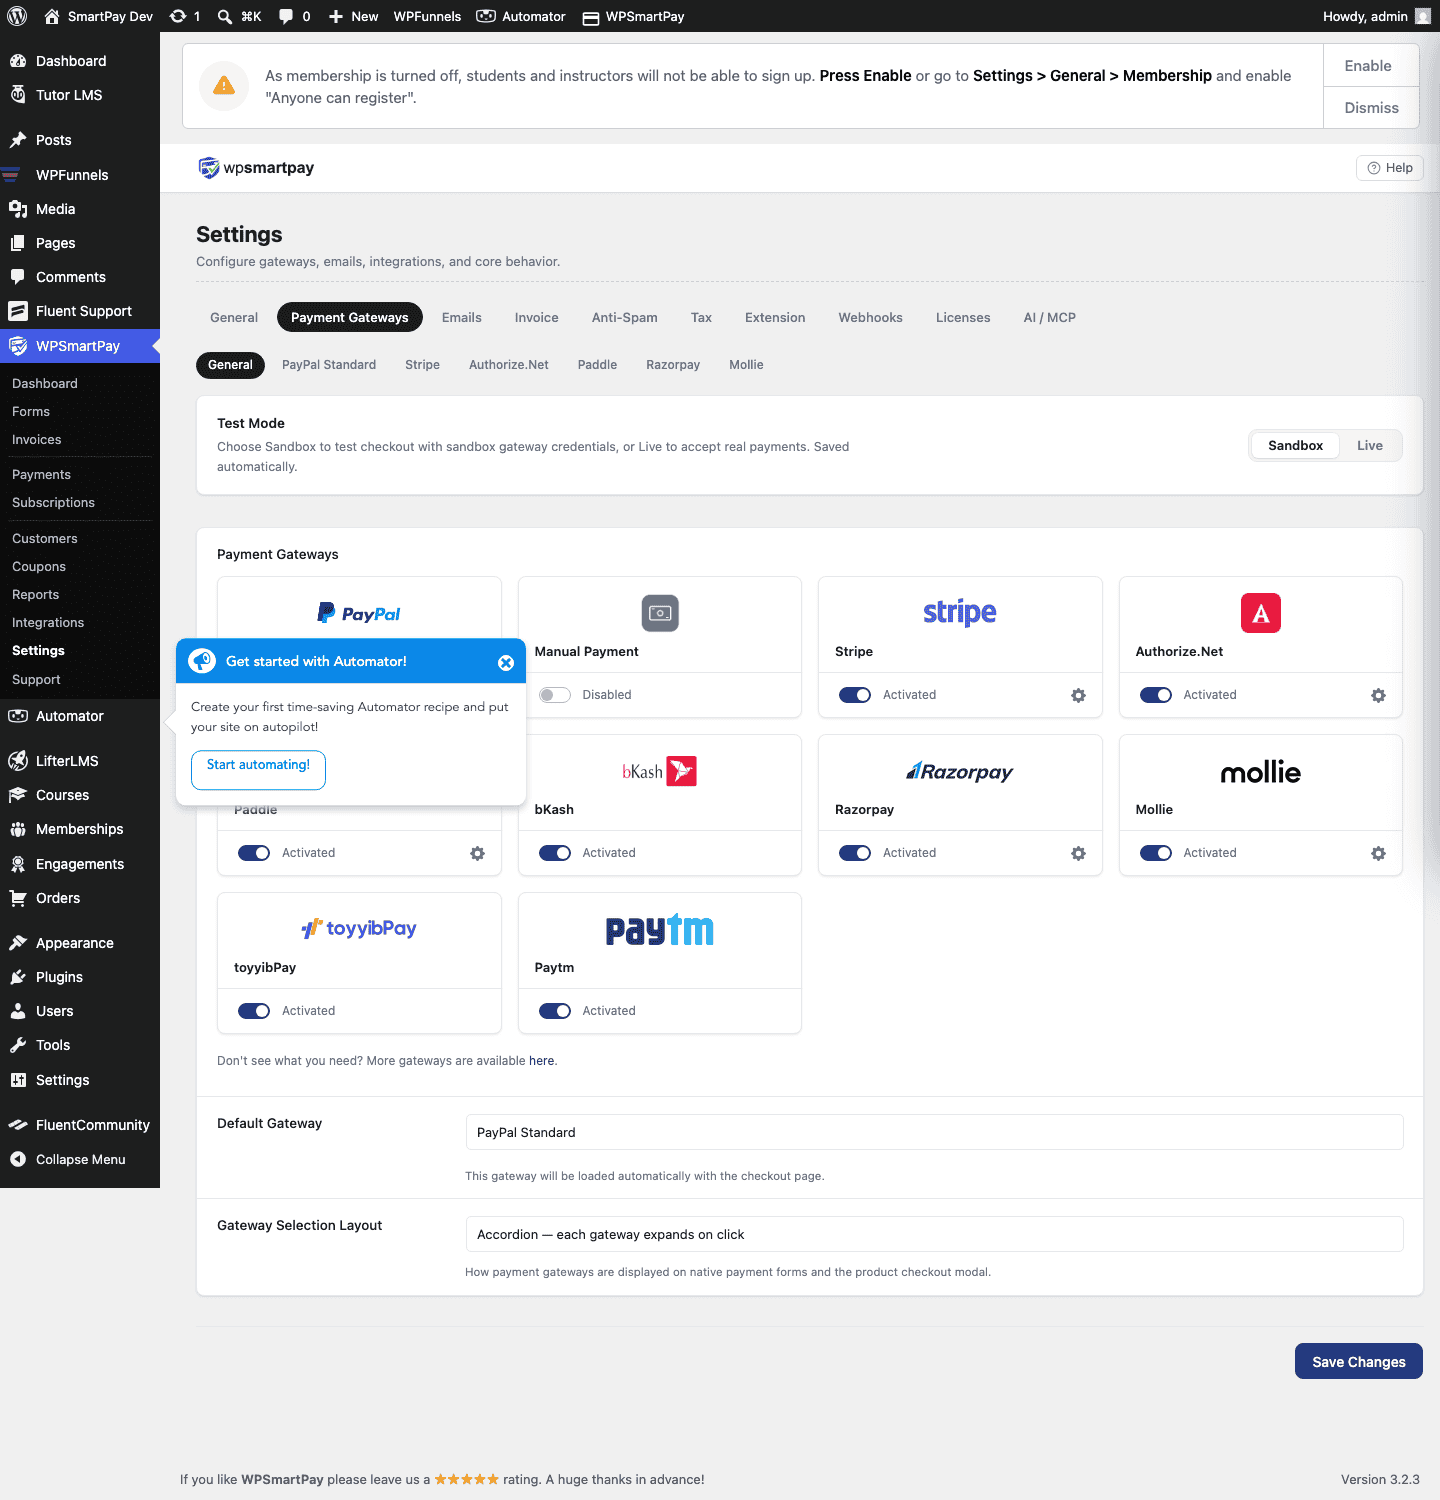
- Go to SmartPay → Settings → Payment Gateways.
- Find Paytm and tick Enable.
- Enter your Live Merchant ID and Live Merchant Key.
- Enter your Test Merchant ID and Test Merchant Key.
- Click Save Settings.
Test Mode Configuration
Toggle Test Mode in SmartPay. Paytm provides a staging environment with test credentials. Use Paytm's test card numbers from the developer documentation to simulate payments in staging.
Supported Payment Methods
- Paytm Wallet
- UPI (all UPI apps)
- Net Banking (100+ Indian banks)
- Visa, Mastercard, RuPay (credit/debit cards)
- EMI
Supported Currencies
Indian Rupee (INR) for domestic payments.
Common Errors & Fixes
- "Checksum mismatch" — The Merchant Key is incorrect. Paytm generates a checksum from the transaction data using this key — any mismatch causes rejection. Re-copy the key exactly.
- "Invalid merchant" — Merchant ID (MID) does not exist or is for a different environment (staging vs production).
- Payment stuck at Pending — Paytm's payment status callback is not reaching your site. Confirm HTTPS and that your site is publicly accessible.