
Creating a Payment Form
Payment forms are the core of WP SmartPay — they appear on your site and let visitors pay you directly. This guide walks you through creating your first form from scratch in the Gutenberg editor.
Open the Forms List
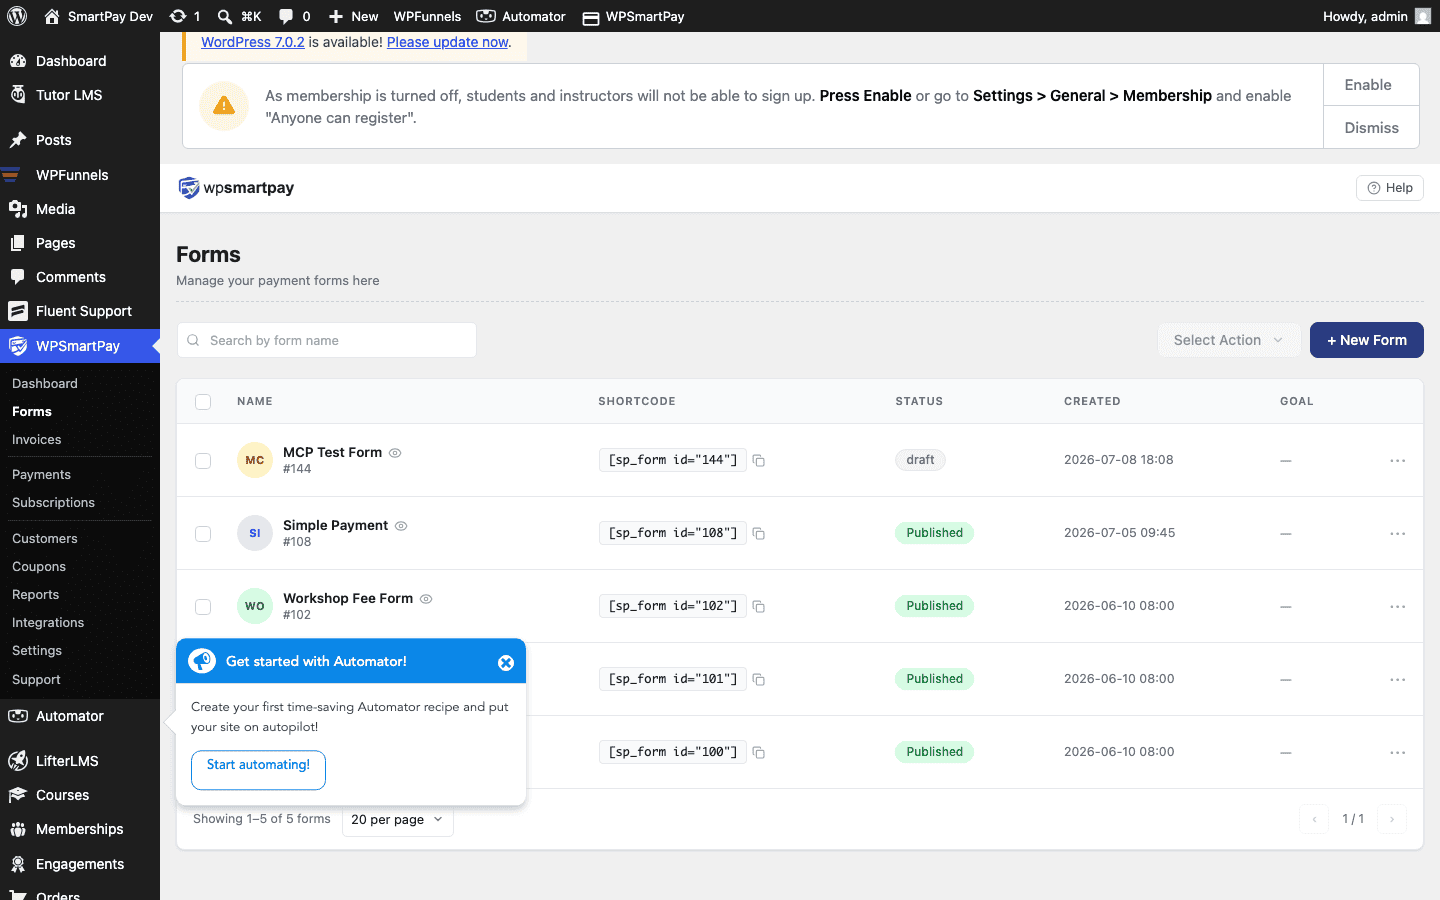
Go to SmartPay → Forms in your WordPress admin sidebar. You will see a list of all existing payment forms.
Start a New Form
Click Add New at the top right of the forms list. A modal appears asking how you want to begin:
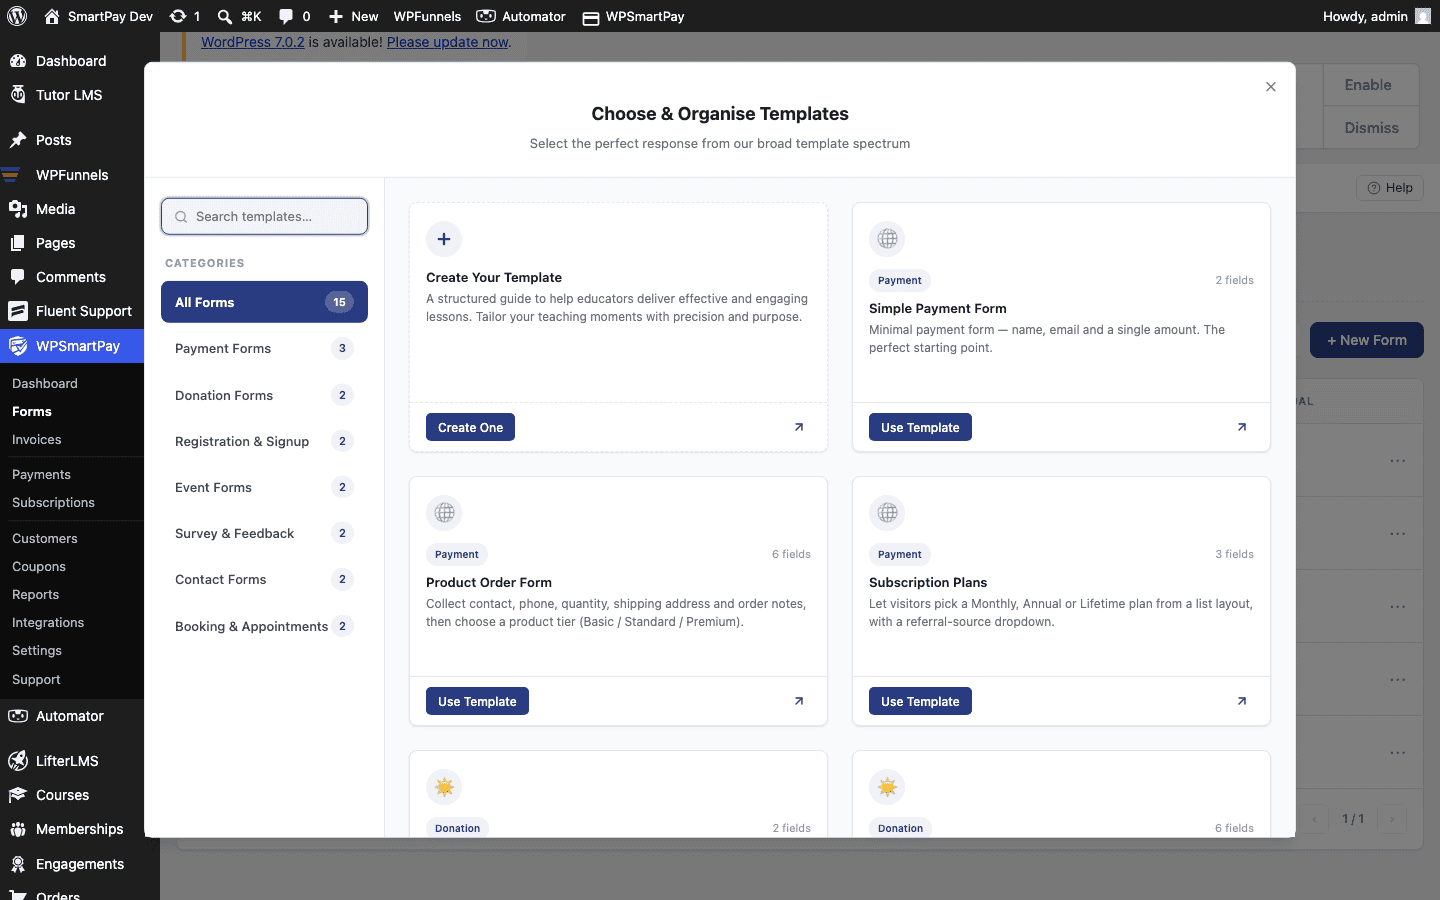
- Blank Form — Starts with an empty canvas. Good for custom layouts.
- Templates (Pro) — Pre-built forms for common use cases such as donations, product sales, and event tickets. Templates are fully editable after selection.
Set the Form Title
Once the editor opens, click the Add title field at the top and type your form name. This title appears in the admin forms list and in the shortcode tooltip but is not shown to customers at checkout unless you add a heading block to the form canvas.
The Form Editor Layout
The form editor is the standard WordPress Gutenberg block editor with SmartPay-specific sidebar panels on the right:
- Canvas (centre) — The visual form area. Add blocks (text, heading, image) above or below the built-in payment fields.
- Pricing panel (right sidebar) — Set the amount, pricing type (fixed or custom), and amount cards.
- Payment panel (right sidebar) — Choose the active gateway for this form.
- Options panel (right sidebar) — Checkout layout, login requirement, and other per-form settings.
Note: The customer email, name, and pay button are built into the form automatically — you do not need to add them as blocks.
Configuring the Pricing
- In the right sidebar, click the Pricing panel to expand it.
- Choose Fixed to charge a set amount, or Custom Amount to let the visitor enter their own.
- Enter the amount in the text field. The currency symbol comes from Settings → General → Currency.
- Optionally add predefined amount cards (e.g., $10, $25, $50) for donation-style forms.
Choosing a Gateway
In the Payment sidebar panel, select the gateway that will process payments on this form. Only gateways enabled in Settings → Payment Gateways appear here. If only one gateway is enabled, it is selected automatically.
Publish the Form
- When the form is ready, click Publish in the top-right corner of the editor.
- WordPress saves the form and assigns it a numeric ID.
- Back in the Forms list, the shortcode column shows
[sp_form id="123"]— copy this to embed the form on any page.
Tip: Use Preview (top-right toolbar) to see how the form looks on the frontend before publishing.
Editing an Existing Form
From the Forms list, click the form title or the Edit link under it to reopen the editor. Changes take effect immediately after you click Update.