
Donation Forms
WP SmartPay is well-suited for nonprofit fundraising and crowdfunding. This guide explains how to set up a donation form with suggested amounts, an open amount field, and a progress bar toward your fundraising goal.
Payment Forms vs Donation Forms
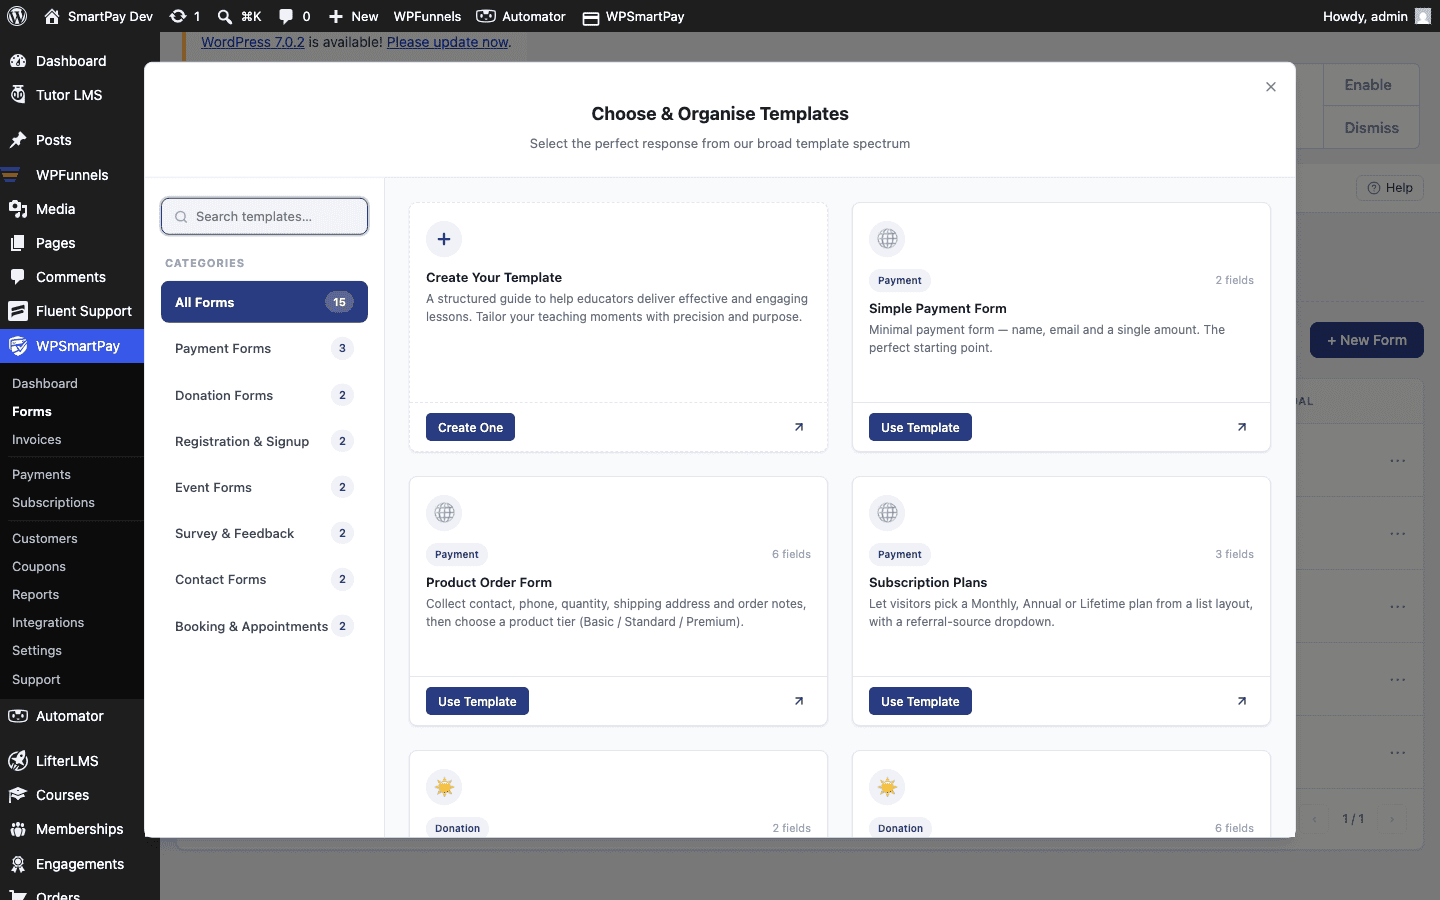
There is no separate "donation form" type in SmartPay — a standard payment form becomes a donation form simply by enabling the Custom Amount pricing type and optionally adding suggested amount cards. The checkout experience feels like a donation form to the visitor, even though it is the same form engine.
Setting Up a Donation Form
- Go to SmartPay → Forms → Add New.
- Give the form a title such as "Monthly Giving" or "Help Us Reach Our Goal".
- In the right sidebar, expand the Pricing panel.
- Select Custom Amount as the pricing type.
- Click Add Amount to add suggested tiers (e.g., 10, 25, 50, 100).
- Set a Minimum Amount (e.g., 5) to prevent $0 or accidental tiny donations.
- Mark the most common amount (e.g., 25) as the default — it will be pre-selected at checkout.
- Optionally leave a Default Amount in the open input to guide donors who click away from the cards.
- Publish the form and embed it on your Donate page using the shortcode.
Revenue Goal & Progress Bar (Pro)
With WP SmartPay Pro you can set a revenue goal against a specific form and display a visual progress bar anywhere on your site using a shortcode.
- Go to SmartPay → Reports → Goals.
- Click Add Goal, select the donation form, set a target amount and a time period (month, year, or lifetime).
- Save the goal and copy the progress bar shortcode.
- Paste the shortcode on the same page as your donation form — it will update in real time as donations come in.
See the Revenue Goals & Progress Bar article for full configuration details.
Thank-You / Receipt Page
After a successful donation the customer is redirected to the Payment Receipt page. You can customise this page to include a warm thank-you message by editing the page set in SmartPay → Settings → General → Payment Success Page. Add the [smartpay_payment_receipt] shortcode to that page to display the donation amount and details.
Tip: Enabling Test Mode in SmartPay → Settings → Payment Gateways lets you make simulated donations to test the whole flow without processing any real charges.